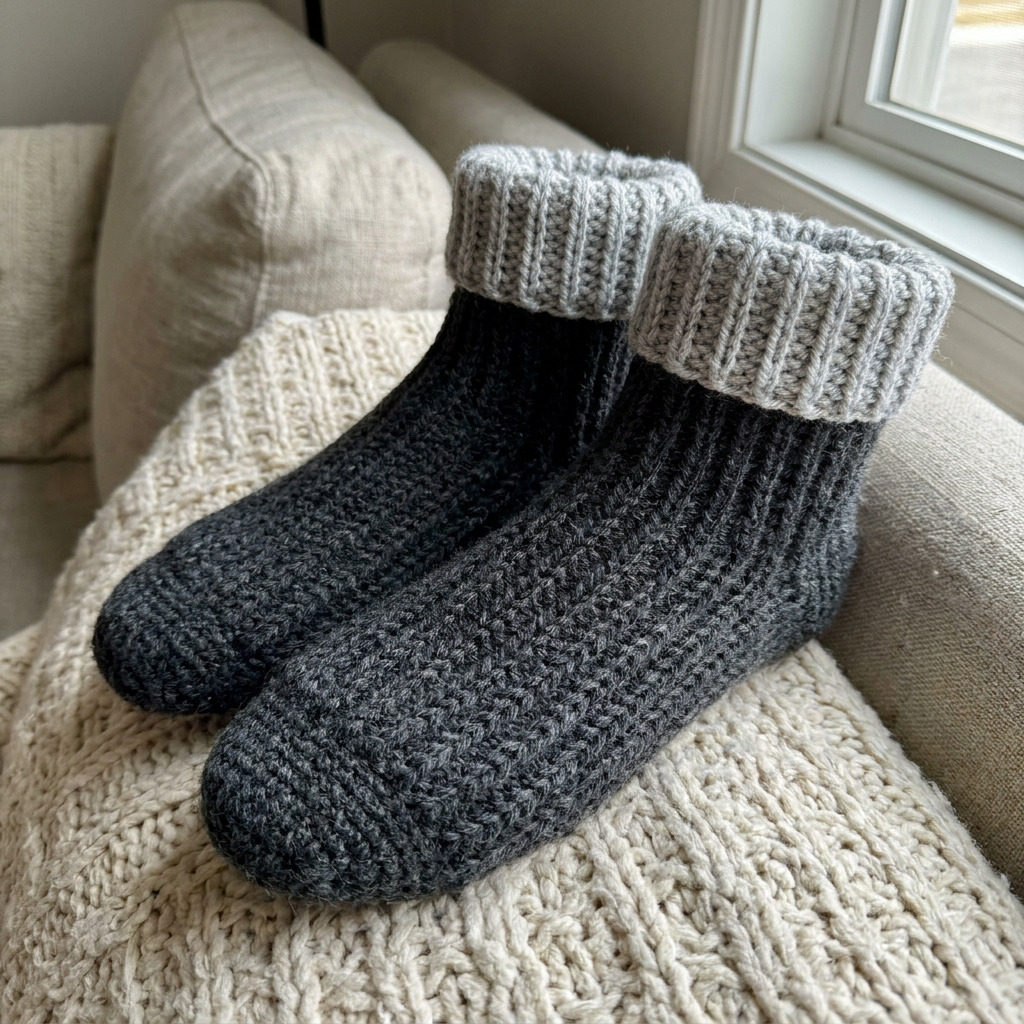
This free crochet ribbed slipper socks pattern for adults is designed to create a cozy pair of socks that will keep your feet warm on chilly days and nights. It’s enjoyable to make because you get to see how the texture forms with each stitch, using basic stitches like double crochet and single crochet.
These slipper socks will benefit anyone looking for a quick and easy project while enhancing your crochet skills, especially with ribbing techniques.
Why You’ll Love This Ribbed Slipper Socks
- Quick to make – you can finish these socks in just a few hours.
- Great for all skill levels – perfect for beginners and enjoyable for seasoned crocheters.
- Practical and cozy – keep your feet warm during cool evenings.
- Versatile sizing – fits a range of adult sizes, making them great gifts.
Is This Pattern Good for Beginners?
Yes! While this pattern uses some techniques that may be new, such as front post and back post half double crochet, the overall structure remains simple. You’ll gain confidence with ribbing, which adds a fun texture to your project.
Crochet Abbreviations (US Terms)
- ch – chain
- dc – double crochet
- sl st – slip stitch
- sc – single crochet
- hdc – half double crochet
- FPHDC – Front Post Half Double Crochet
- BPHDC – Back Post Half Double Crochet
- st(s) – stitch(es)
How to Crochet a Magic Ring
- Lay the yarn in a loop.
- Insert your hook, pull up a loop.
- Yarn over, pull through the loop to form your first stitch.
Size and Gauge
- Finished size: Fits women’s size 8–10 and men’s size 9–11.
- Gauge: 14 stitches and 10 rows = 10 cm (4 in) in double crochet.
Step-by-Step Instructions
Sock Body
The sock body is formed from the foundation chain, worked in rounds, with ribbing added for texture.
- Foundation Chain: Ch 36, join with sl st to form a ring (36 sts).
- Row 1: Ch 2 (counts as first dc), dc in each st around (36 sts). Join with sl st.
- Row 2: Ch 2, dc in each st around (36 sts). Join with sl st.
- Row 3: Ch 2, dc in each st around (36 sts). Join with sl st.
- Row 4: Ch 1, sc in each st around (36 sts). Join with sl st.
- Row 5: Ch 2, dc in each st around (36 sts). Join with sl st.
- Rows 6–12: Repeat Rows 4 and 5 until piece measures 25 cm (10 in) from the base (total of 7 rows of ribbing).
Heel
The heel section adds depth and shaping. 8. Row 13: Ch 1, sc in next 18 sts, leave remaining unworked (18 sts). 9. Row 14: Ch 1, sc to end (18 sts). 10. Row 15: Ch 1, sc in next st, inc in next st (increase by 1 st), repeat until end (27 sts). 11. Row 16: Ch 1, sc in each st to end (27 sts).
Toe
The toe rounds off the sock shape. 12. Row 17: Ch 1, sc in first 9 sts, hdc in next 9 sts, dc in last 9 sts (27 sts). 13. Row 18: Ch 1, sc in first 9 sts, hdc in next 9 sts, dc in last 9 sts (27 sts). 14. Row 19: Ch 1, continue the pattern and round off the toe evenly.
Cuff
The cuff provides a snug finish to the top of the sock. 15. Switch to Color B. 16. Row 20: Ch 1, FPHDC around entire cuff (27 sts). 17. Rows 21-23: Repeat FPHDC and BPHDC alternately to desired height or until you reach about 8 cm (3 in).
Final Touches
Fasten off yarn and weave in all ends securely. Block the socks as desired to ensure proper shape and fit.
Beginner Tips for a Neat Ribbed Slipper Socks
- Use stitch markers to keep track of your rounds.
- Keep count of your stitches to avoid mistakes.
- Adjust your tension as you crochet; don’t pull too tight.
Common Mistakes (and How to Fix Them)
- “My piece is too small.” – You may have missed a stitch; count your stitches on previous rows to check.
- “The stitches are uneven.” – This can happen if you vary your tension; take extra care to maintain consistent tension.
- “I don’t understand the ribbing.” – Ribbing involves alternating front and back post stitches; practice each stitch separately before combining.
How to Care for Your Ribbed Slipper Socks
Hand wash in cold water and lay flat to dry, avoiding wringing out to maintain the shape of your socks.
FAQ
How do I resize the pattern?
To resize, adjust the foundation chain length for a tighter or looser fit, making sure your stitch count remains consistent.
Can I use different yarn?
Yes, you can substitute yarn, but make sure it is a similar weight to maintain the correct fit and texture.
How long will it take to make the socks?
The total estimated time is about 2–2.5 hours, depending on your crochet speed.
Looking for more? Check out our complete collection of free crochet patterns.
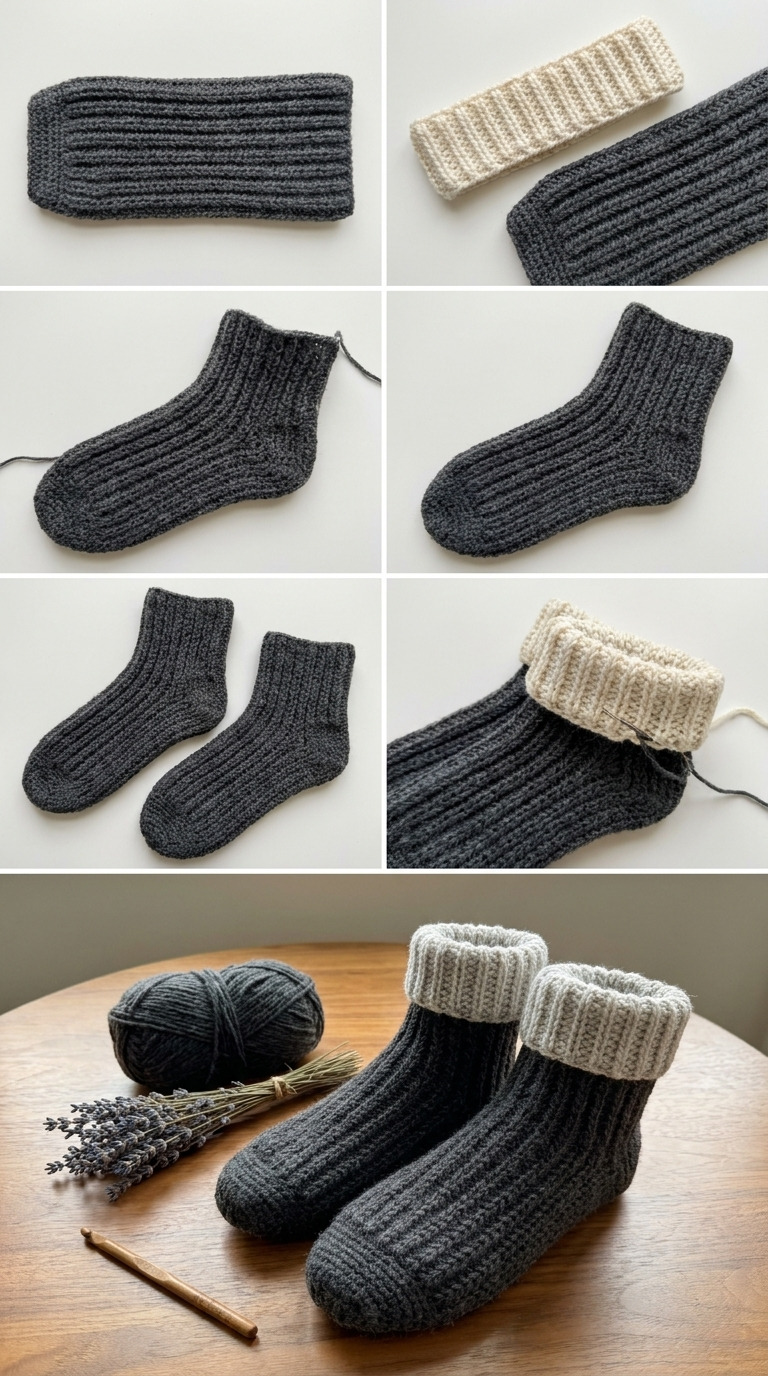
Image shown for inspiration — your finished result may vary slightly.