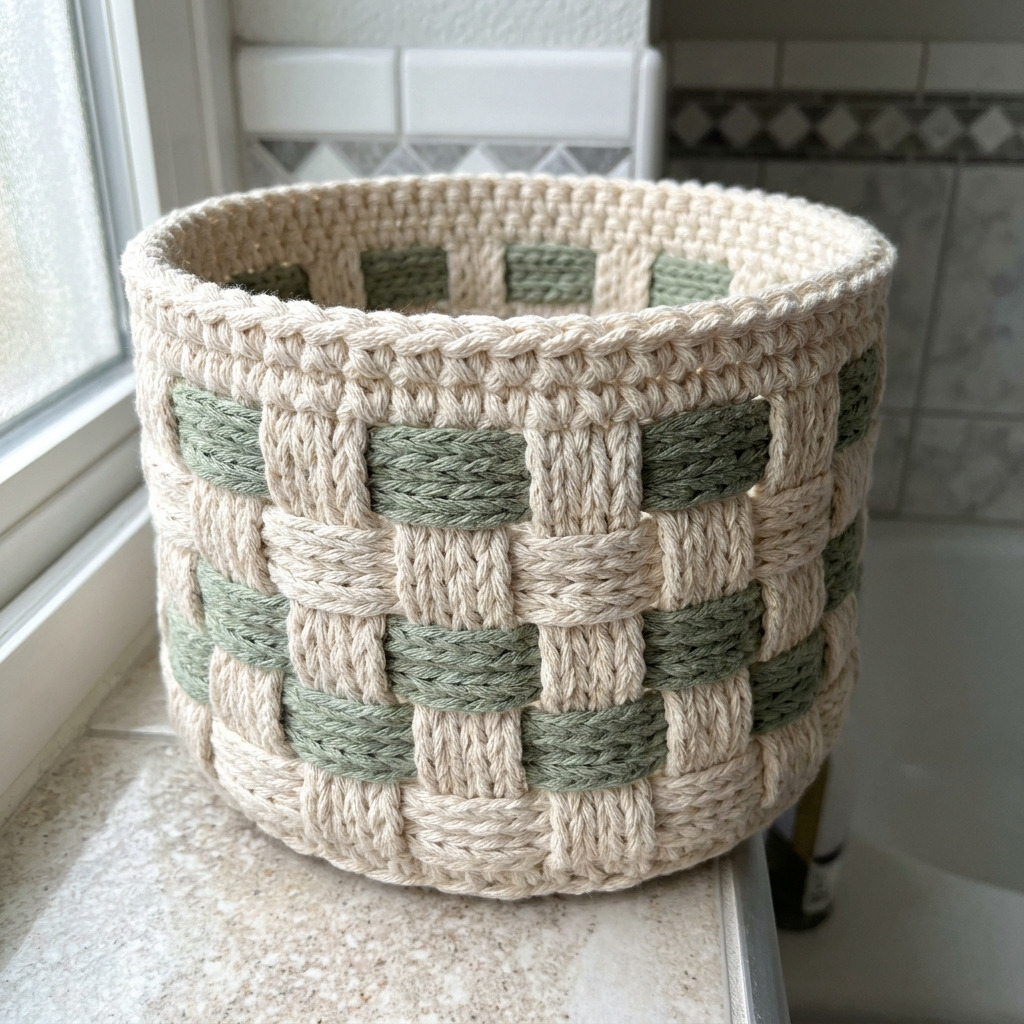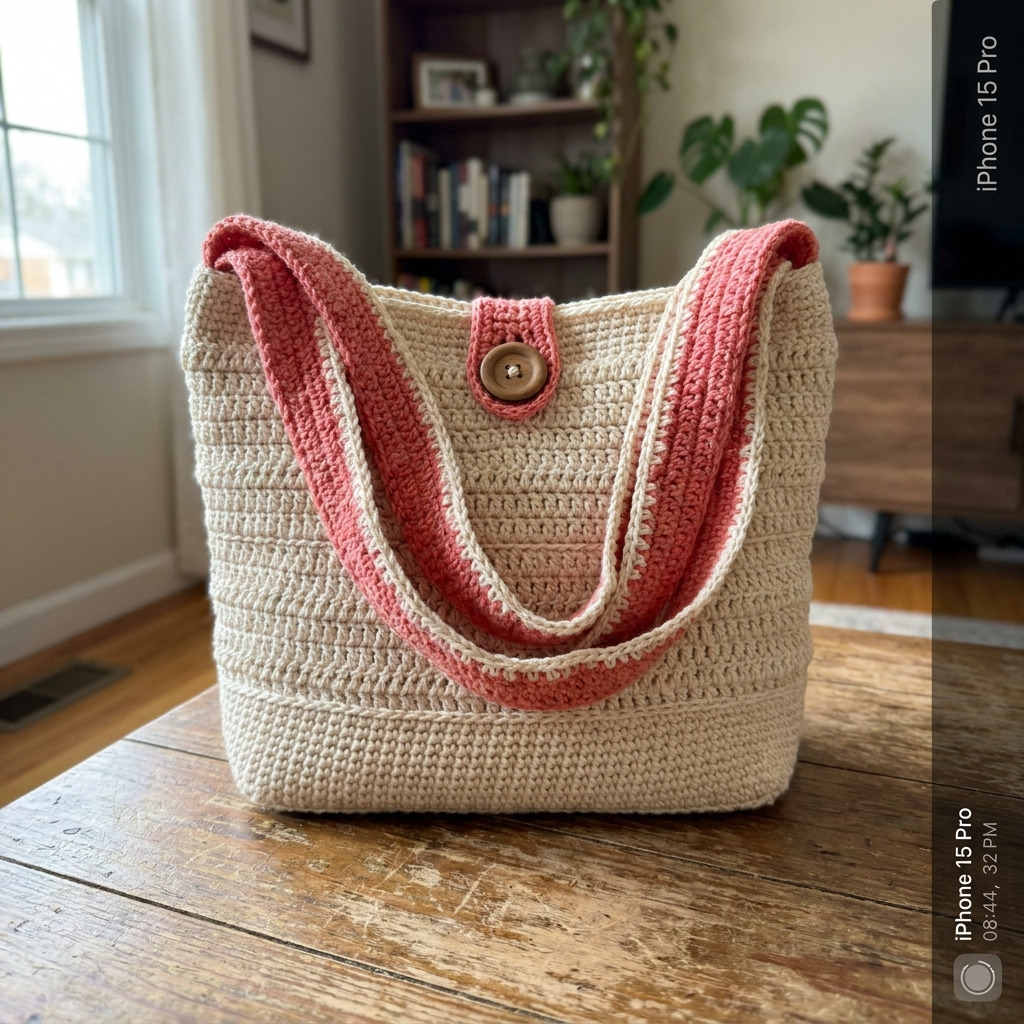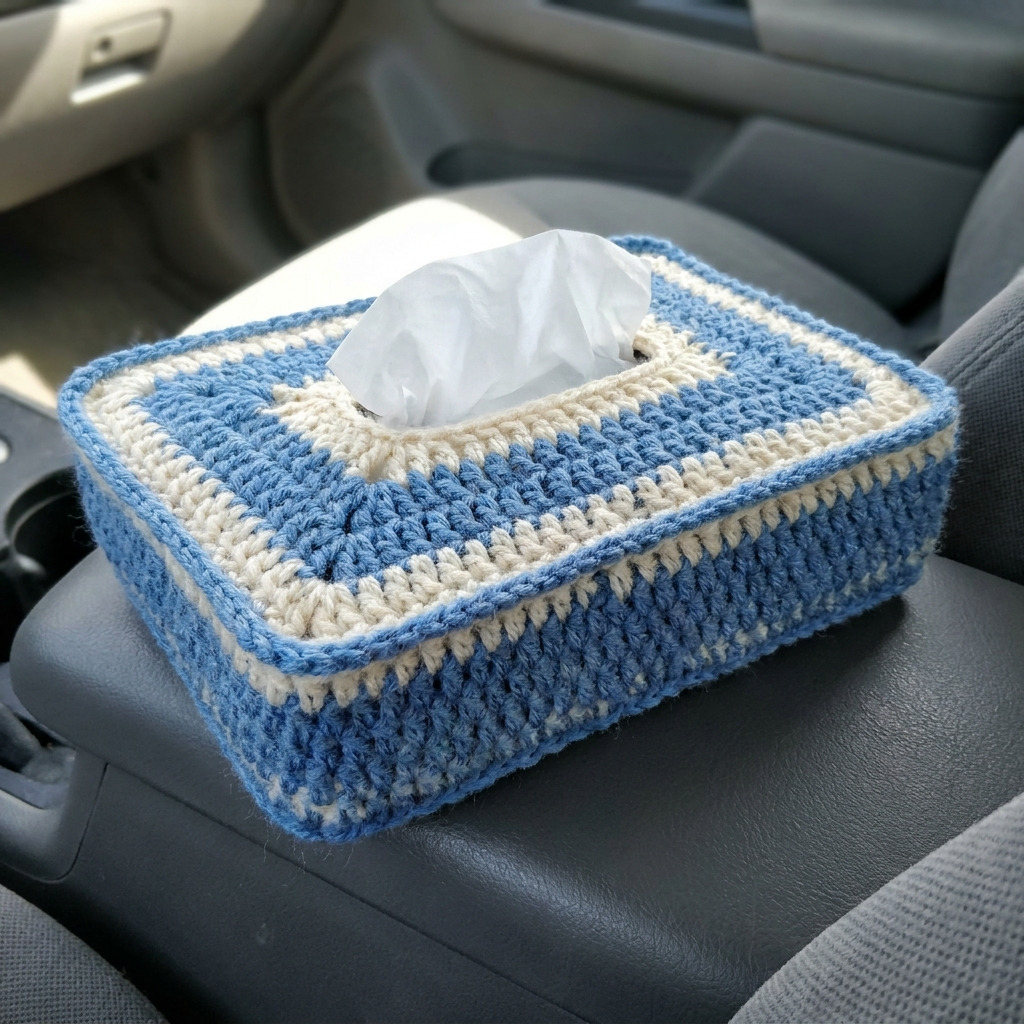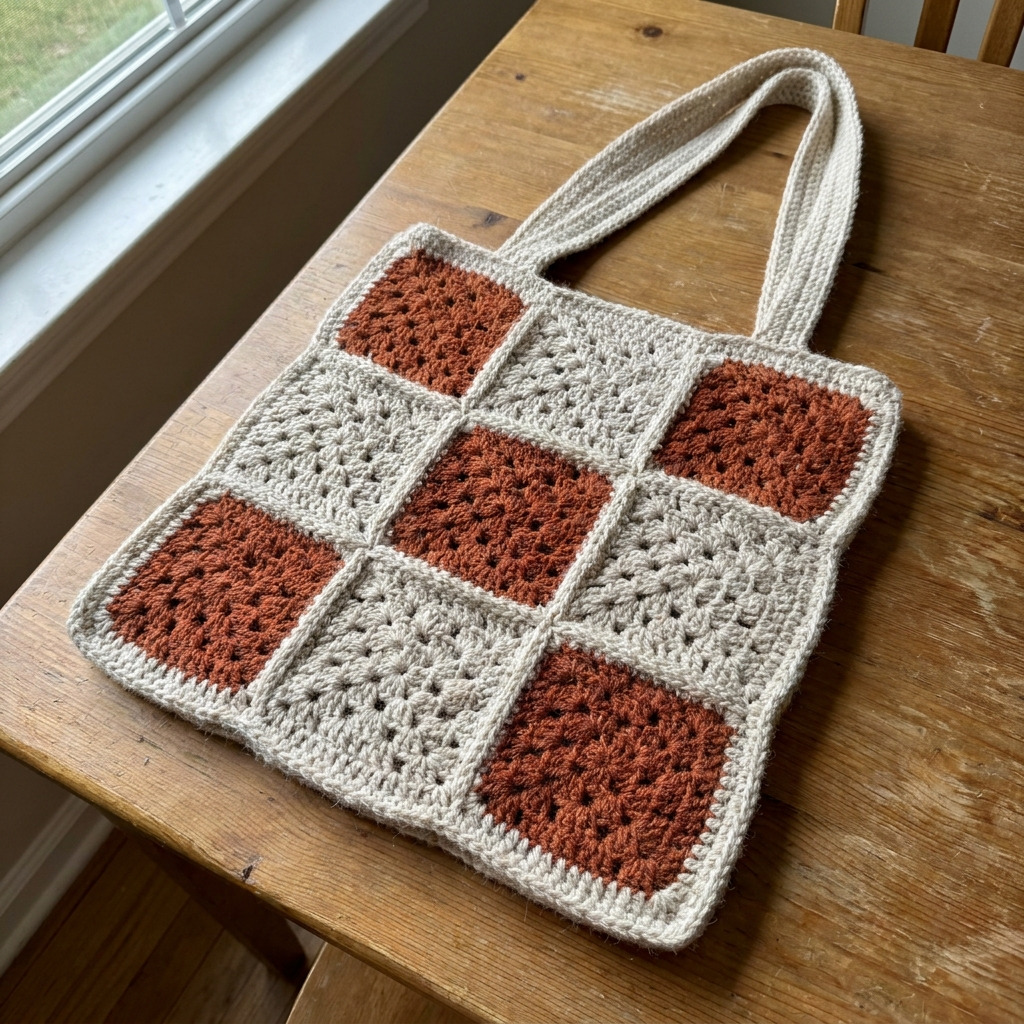
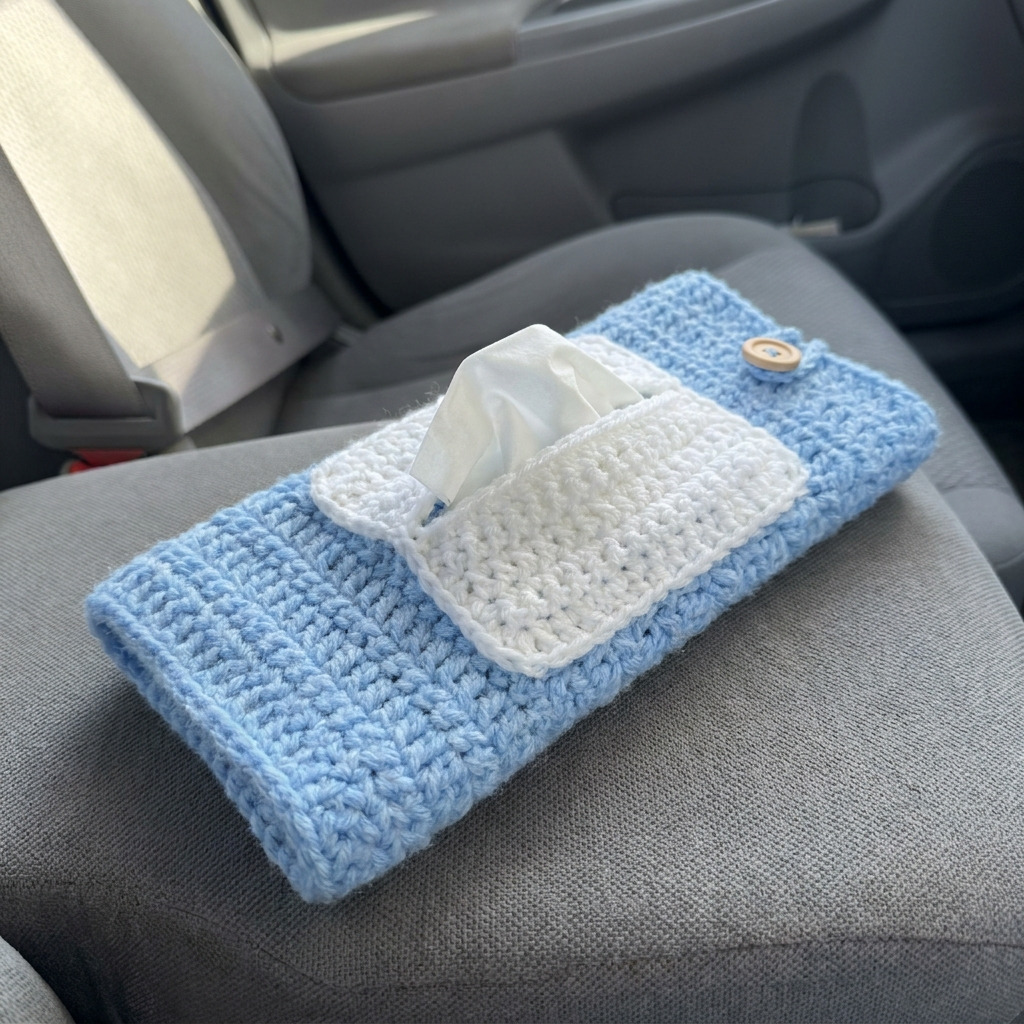
This crochet seatbelt cover with tissue pocket pattern is perfect for adding comfort and convenience to your daily drives. The cozy design not only protects your seatbelt but also features a handy pocket for tissues, making it both practical and enjoyable to make. You’ll work primarily in single crochet stitches, which makes it a great project for practicing your skills.
This project is ideal for anyone looking to enhance their car’s interior or for those who appreciate small functional accessories. You will gain experience in working with both basic and slightly advanced techniques, which will boost your confidence as you crochet.
Why You’ll Love This Seatbelt Cover
- Practical design – perfect for a cozy ride and handy tissue storage.
- Quick to crochet – you can finish this in about 3 hours!
- Easy to customize – choose colors that match your style or car interior.
- Beginner-friendly – you’ll build your skills with basic stitches.
Skill Level: Easy
You should know how to work basic stitches like single crochet and chain. This pattern introduces some assembly techniques but stays within comfortable territory for beginners.
Crochet Abbreviations (US Terms)
- ch – chain
- sc – single crochet
- sl st – slip stitch
- sk – skip
How to Crochet a Folded Edge
- At the end of your crocheting, fold the edges inward about 0.5 inches (1.25 cm).
- Using a slip stitch, secure the folded edges down to prevent raw edges from showing.
- This pocket-like finish adds both comfort and a polished look.
Size and Gauge
- Finished Dimensions:
- Length: 25 cm (10 in)
- Width: 10 cm (4 in)
- Gauge: 12 sc and 14 rows = 10 cm (4 in) in single crochet.
Body of the Seatbelt Cover
The body of the seatbelt cover is created in rows.
- Foundation Row:
- Ch 24.
- Row 1:
- Sc in 2nd ch from hook and across. (23 sts)
- Row 2:
- Ch 1, turn. Sc across. (23 sts)
- Rows 3–22:
- Repeat Row 2 for a total of 20 additional rows.
- Row 23:
- Ch 1, turn. Sc across. (23 sts)
- Row 24 (Last Row):
- Ch 1. Sc in the first 18 sts, ch 6 (to create the buttonhole), sk 5 sts, sc in last st. (23 sts)
Tissue Pocket
The tissue pocket is formed separately and attached at the end.
- Tissue Pocket Base:
- Ch 12.
- Tissue Pocket Rows:
- Row 1: Sc in 2nd ch from hook and across. (11 sts)
- Rows 2–10: Repeat Row 1.
- Finishing Pocket:
- Fold in half and sl st along the sides to form a pocket. Leave the top open.
Assembly & Finishing
Attach the tissue pocket directly to the seatbelt cover.
-
Attach Tissue Pocket:
- Position the pocket 5 cm (2 in) from the top edge of the seatbelt cover.
- Sl st around the sides to secure. (Ensure the pocket opening faces the front.)
-
Folded Edge:
- Fold the long edges inward about 1.25 cm (0.5 in) and sl st across to secure.
-
Button Closure:
- Sew the button onto one edge of the seatbelt cover, aligned with the buttonhole made in Row 24.
-
Weaving in Ends:
- Use a tapestry needle to weave in all ends securely.
Beginner Tips for a Neat Seatbelt Cover
- Use stitch markers to keep track of rows and maintain even tension.
- Keep count of your stitches to avoid running short or long.
- Adjust tension as you go to ensure uniformity across the project.
Common Mistakes (and How to Fix Them)
- “My piece is too small.” – You likely missed counting stitches; double-check your gauge.
- “The stitches are uneven.” – Ensure consistent tension across your work; consider practice with a finer hook.
- “The buttonhole doesn’t align.” – Pay close attention to the buttonhole placement in Row 24 while crocheting.
How to Care for Your Seatbelt Cover
Hand wash in cold water and lay flat to dry. Avoid wringing to maintain its shape and quality.
FAQ
How do I resize the pattern?
To resize, simply adjust the number of foundation chains and repeat rows until you achieve your desired measurements.
Can I use a different type of yarn?
Yes, you can substitute yarn as long as it’s of similar weight, but note that this may affect your gauge.
How long will it take to make?
Expect to spend around 3 hours total—approximately 2 hours for the body, 30 minutes for the pocket, and 30 minutes for assembly.
Looking for more? Check out our complete collection of free crochet patterns.
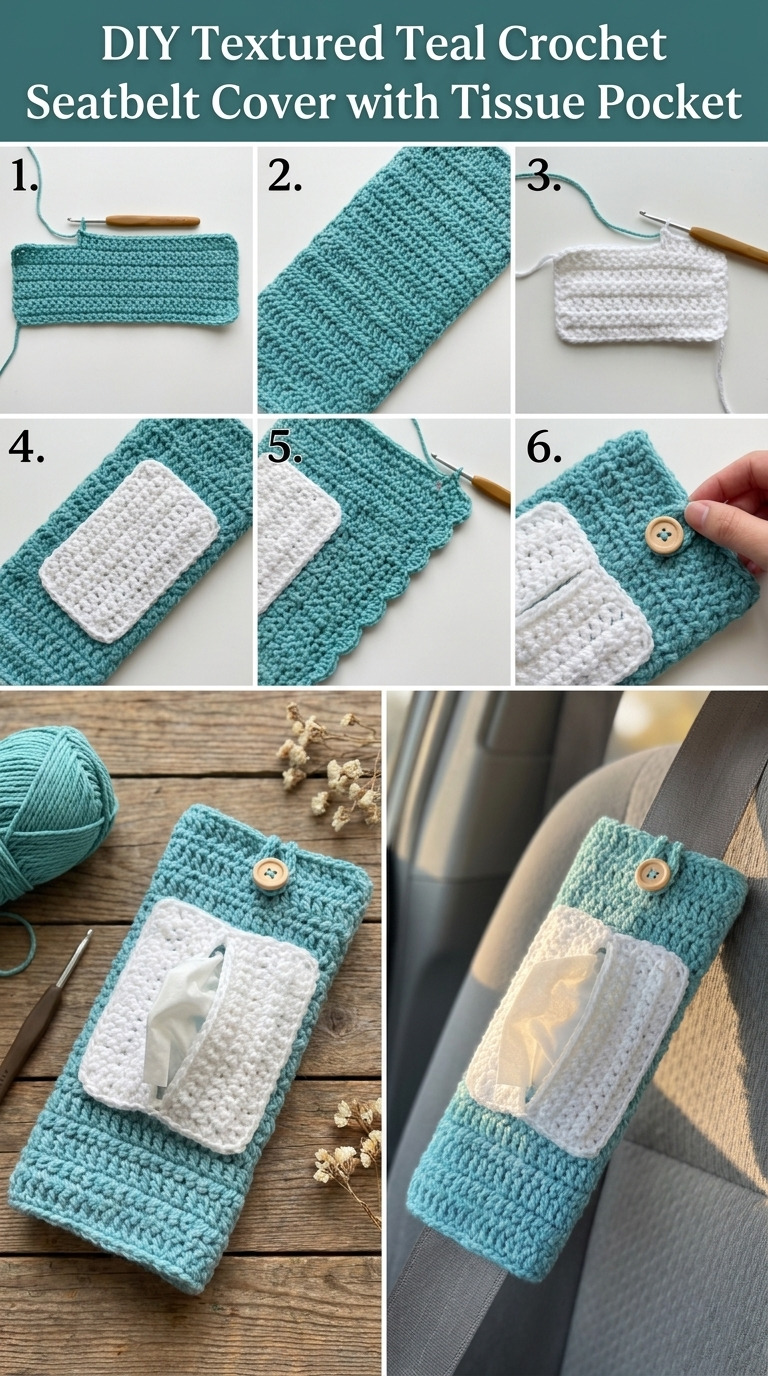
Image shown for inspiration — your finished result may vary slightly.