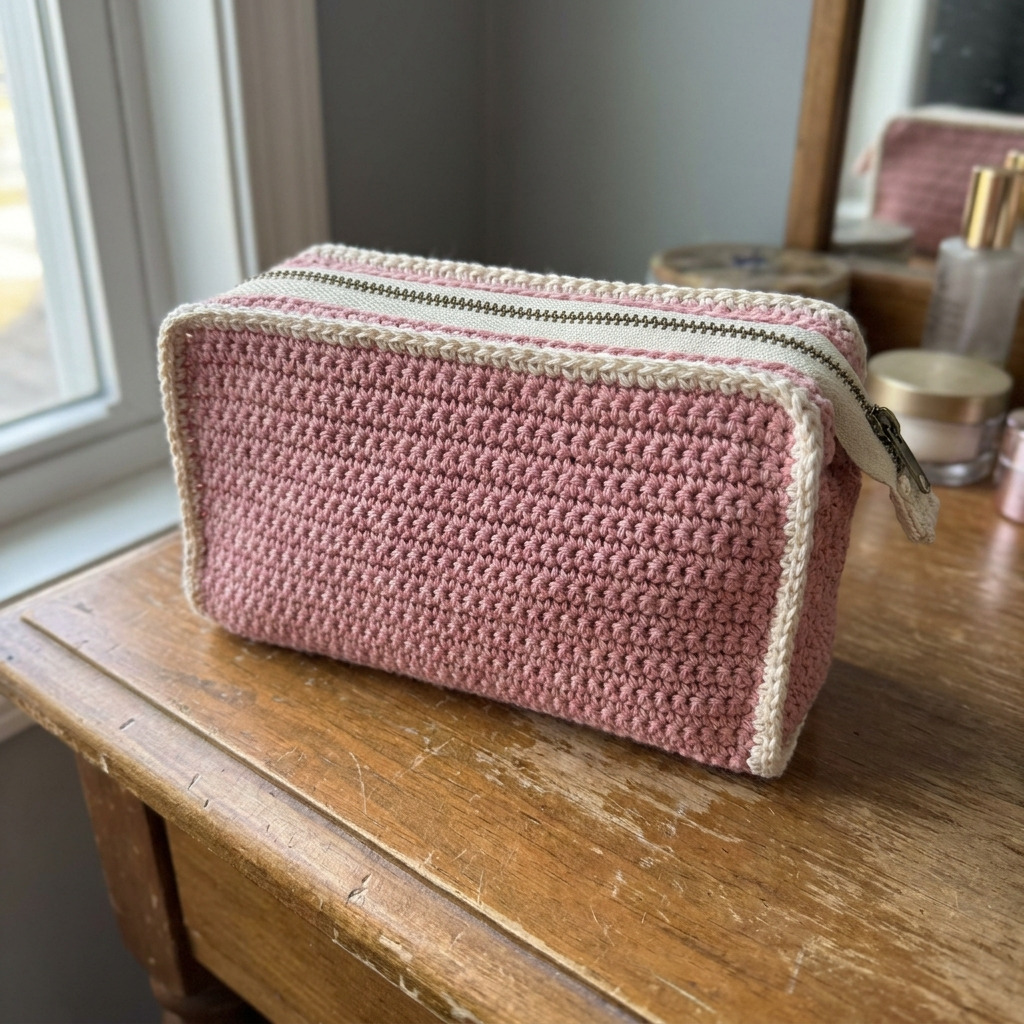
This free crochet makeup pouch pattern with a zipper is a stylish and practical accessory designed to hold your cosmetics and small essentials. Its compact size makes it perfect for travel or everyday use. You will enjoy making this pouch as it involves basic crochet techniques, including double crochet (dc) and single crochet (sc).
This project is great for beginners eager to improve their crochet skills while creating something functional. By the end, you’ll be comfortable with stitch counting and working with a zipper.
Why You’ll Love This Makeup Pouch
- Quick to crochet – you can finish this in a few hours.
- Perfect for beginners – you’ll practice essential crochet stitches.
- Customizable colors – make it your own with different yarn combinations.
- Practical use – keep your cosmetics and essentials organized.
Is This Pattern Good for Beginners?
Yes! This pattern uses simple stitches and clear instructions. You’ll practice working in rows and learn how to attach a zipper, an excellent technique for future projects.
Crochet Abbreviations (US Terms)
- ch – chain
- dc – double crochet
- sl st – slip stitch
- sc – single crochet
- st(s) – stitch(es)
Size and Gauge
- Finished size: 20 × 13 × 8 cm (8 × 5 × 3 in)
- Gauge: 12 dc and 8 rows = 10 cm (4 in)
To check your gauge, crochet a swatch of 20 dc and 16 rows. If your swatch does not match, adjust your hook size accordingly.
Step-by-Step Instructions
Body of the Pouch
The body of the pouch is made in rows and then folded to create a tube.
- Foundation Row: Ch 30. (30 ch)
- Row 1: Dc in the 4th ch from the hook and in each ch across. Turn. (28 dc)
- Row 2–4: Ch 3, dc in each st across. Turn. (28 dc)
- Row 5: Ch 1, sc in each st across. Turn. (28 sc)
- Row 6–10: Ch 3, dc in each st across. Turn. (28 dc)
- Row 11: Ch 1, sc in each st across. Turn. (28 sc)
- Row 12–20: Repeat Rows 6 and 11 until you have 20 rows total, ending after a sc row.
- Row 21: Ch 3, dc in each st across. Turn. (28 dc)
- Row 22: Ch 1, sc in each st across. Turn. (28 sc)
- Row 23: Ch 1, sc in each st across. Do not fasten off. (28 sc)
Assembly & Finishing
- Fold the pouch body in half with the right sides facing.
- Join the sides using sl st or sc to create a tube. (28 sc along each side)
- Attach the zipper to the top edge using pins, and sew it in place carefully.
- Cut the lining fabric to the size of the pouch, add fuse interfacing to the back, and sew the edges together, leaving a hole for turning.
- Insert the lining into the pouch, ensuring to tuck the raw edges. Sew the top of the lining to the zipper.
Beginner Tips for a Neat Makeup Pouch
- Use stitch markers to keep track of your stitches.
- Count your stitches regularly to avoid mistakes.
- Manage your tension for an even finish across your work.
Common Mistakes (and How to Fix Them)
- My piece is too small. – This usually happens if your tension is too tight; check your stitches.
- The stitches are uneven. – This could be due to inconsistent tension; try using stitch markers.
- The zipper is misaligned. – Be sure to pin it well before sewing to keep it straight.
How to Care for Your Makeup Pouch
Hand wash with mild soap and lay flat to dry to keep your pouch looking nice.
FAQ
How do I resize the pattern?
You can adjust the foundation chain to make the pouch wider or narrower. Just be sure to maintain the same stitch count in the following rows.
What kind of yarn can I use instead?
You can use any worsted-weight yarn. Just ensure it’s soft and durable for the best finish.
How long will this project take me?
Expect to spend about 4–5 hours total, including both crochet and assembly time.
Looking for more? Check out our complete collection of free crochet patterns.
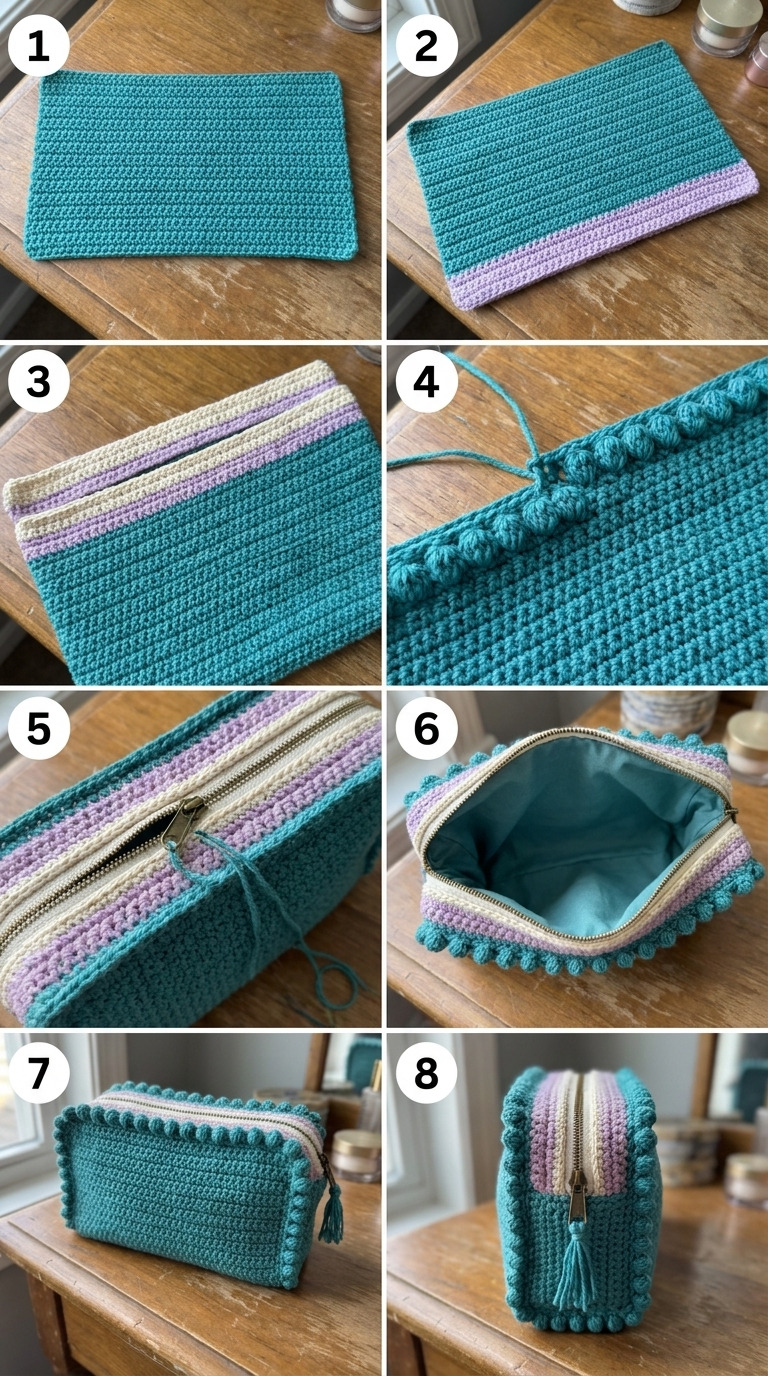
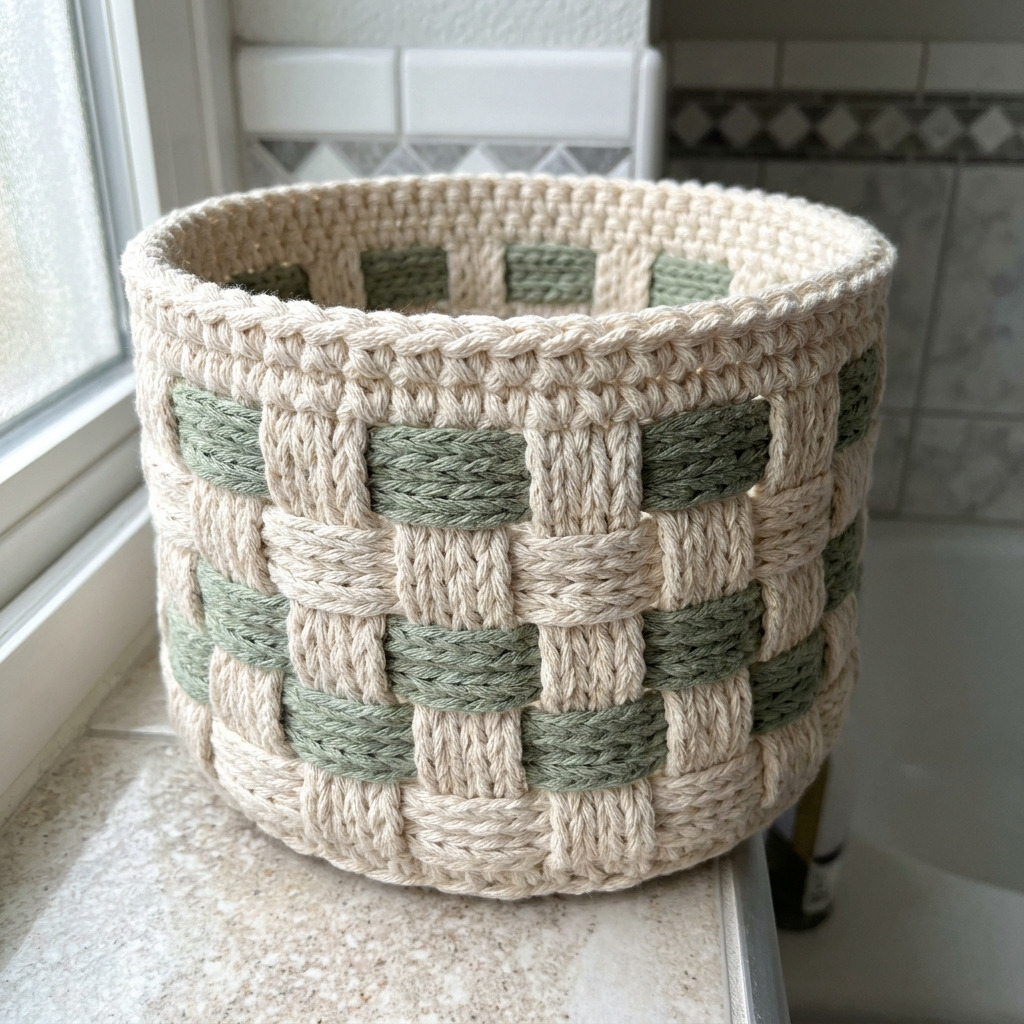
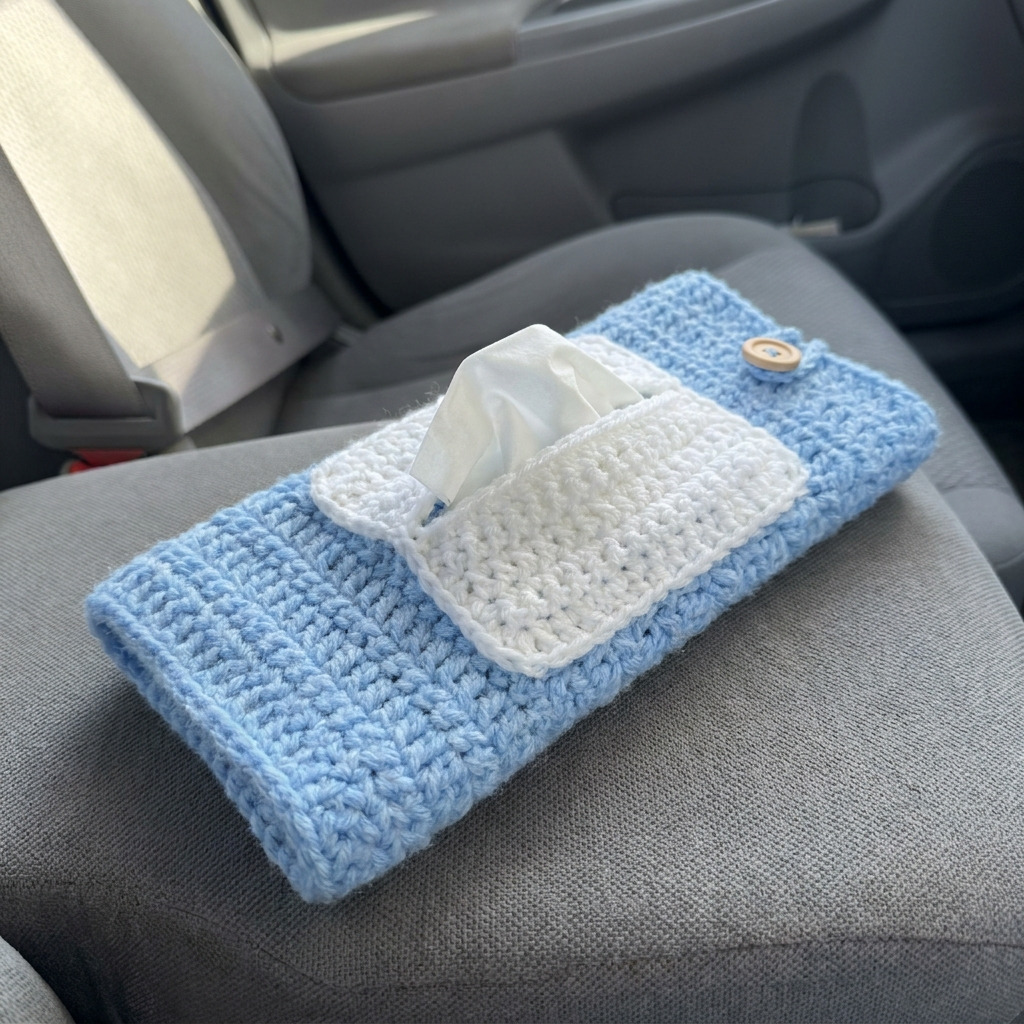
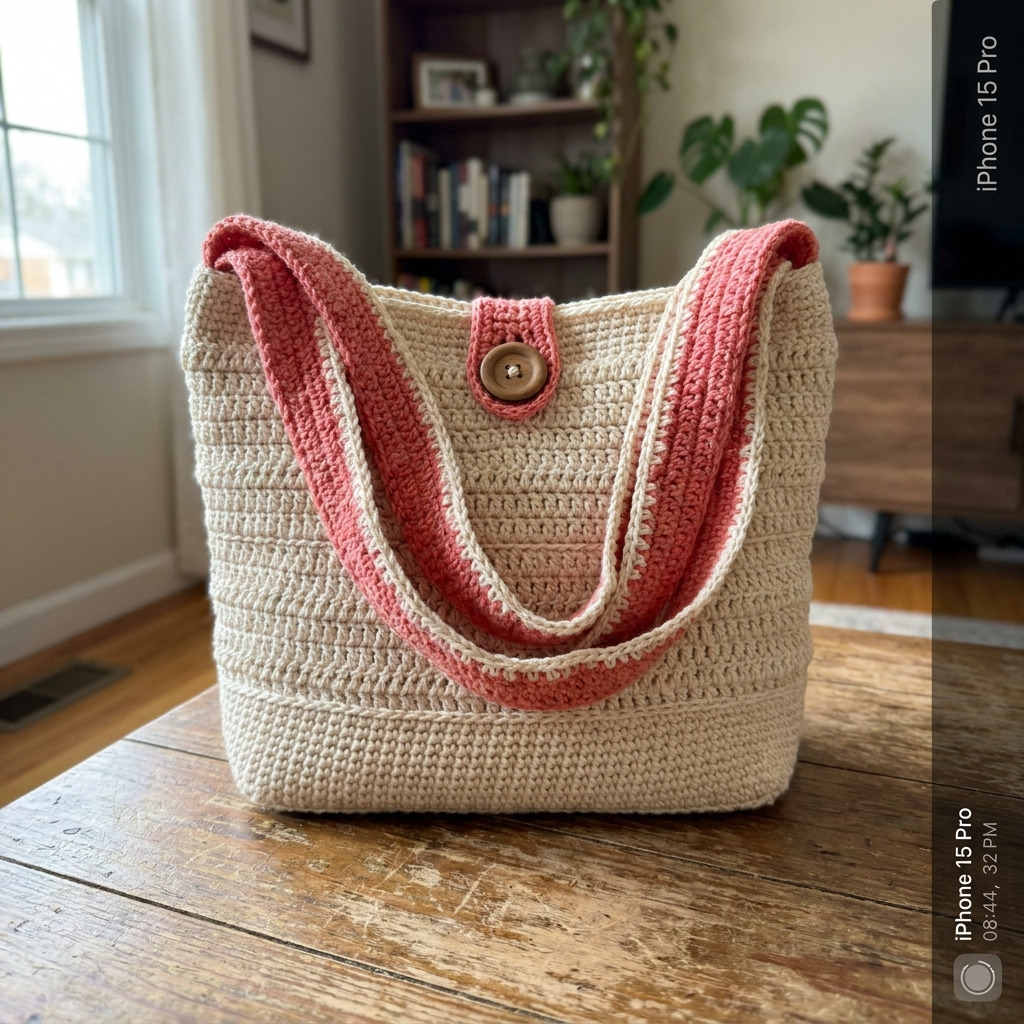
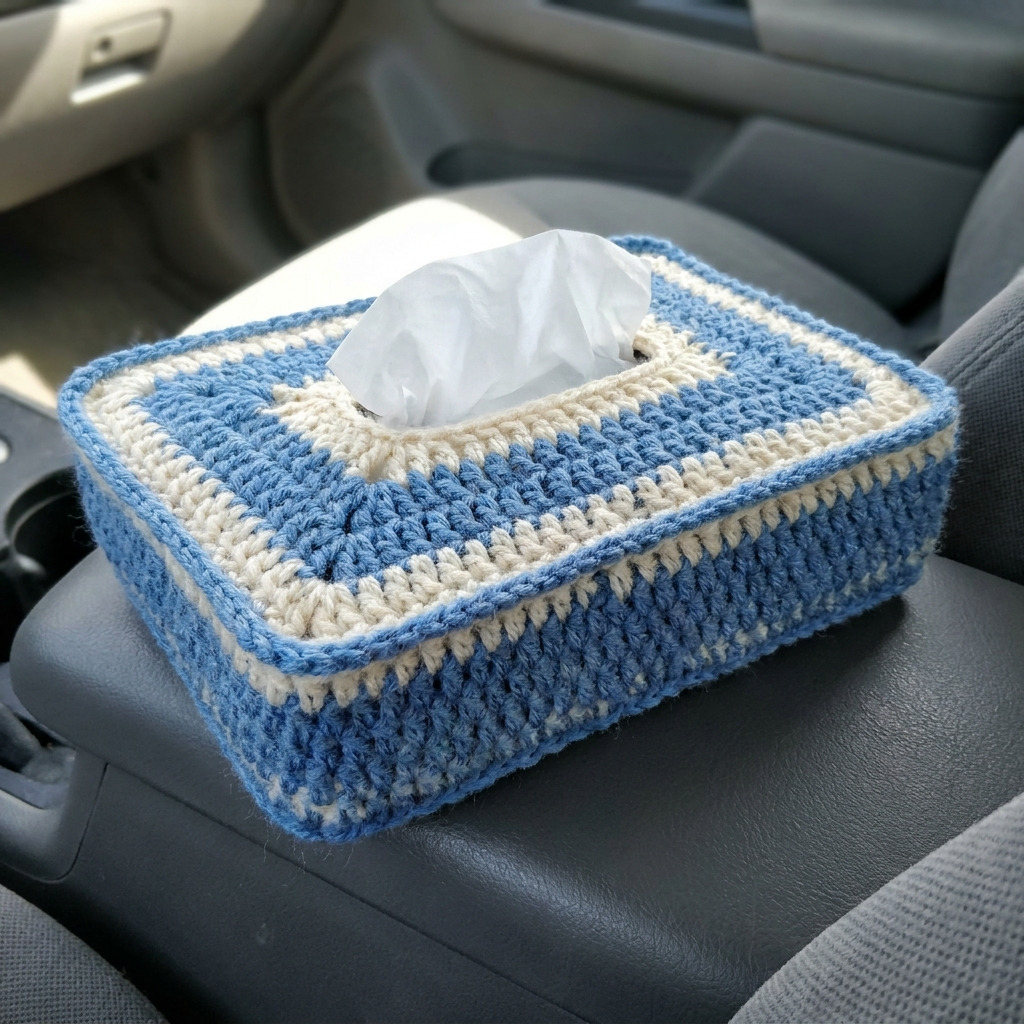
Image shown for inspiration — your finished result may vary slightly.