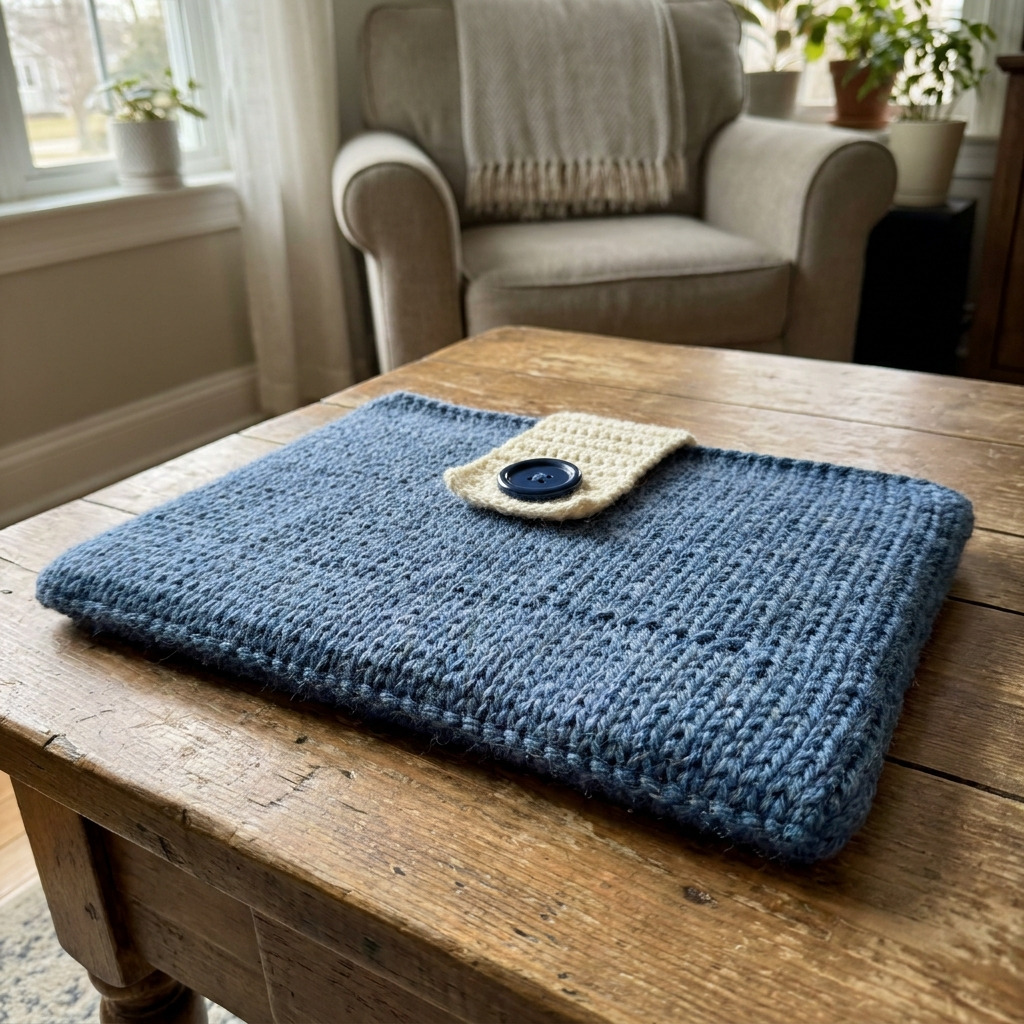
This free crochet laptop sleeve pattern with button flap is perfect for keeping your laptop safe while showcasing your crochet skills. The design features a stylish button flap that adds a touch of personality and ensures your laptop stays secure. We’ll be using basic stitches like double crochet and single crochet to create this functional piece.
As you work on this project, you’ll gain experience in making larger pieces and improving your skills in assembly and finishing techniques. Whether it’s for personal use or as a thoughtful gift, this laptop sleeve will surely impress.
Why You’ll Love This Laptop Sleeve
- Functional design – the button flap provides secure closure.
- Customizable size – adapt the pattern to fit your specific laptop dimensions.
- Stylish and practical – create a unique accessory that protects your tech.
- Quick to make – finish it in just a few hours!
Skill Level: Intermediate
For this project, it’s helpful to know:
- Basic crochet stitches: ch, dc, sc
- How to assemble and sew pieces together
- Basic gauge measurement
Crochet Abbreviations (US Terms)
- ch – chain
- dc – double crochet
- sl st – slip stitch
- sc – single crochet
Gauge and Finished Size
- Finished Laptop Sleeve Size: Approximately 38 × 28 cm (15 × 11 in) when folded
- Gauge: 12 dc and 7 rows = 10 cm (4 in)
To check your gauge, make a swatch of 16 dc and 10 rows. If your swatch measures larger than 10 cm (4 in), switch to a smaller hook; if smaller, use a larger hook.
Step-by-Step Instructions
Body of the Sleeve
The body is made in rows from the foundation chain.
- Foundation Chain: Ch 63.
- Row 1: Starting in the 4th ch from hook, dc in each ch across. Turn. (61 dc)
- Row 2: Ch 3 (counts as first dc), dc in each dc across. Turn. (61 dc)
- Row 3–28: Repeat Row 2 until piece measures 28 cm (11 in) from the foundation chain.
- Row 29: Ch 1, sc in each dc across. Turn. (61 sc)
- Row 30: Ch 1, sc in each sc across. Fasten off. (61 sc)
Button Flap
Now we’ll create the flap for the button closure.
- Foundation Chain for Flap: With Contrast Color, ch 14.
- Row 1: Starting in 2nd ch from hook, dc in each ch across. Turn. (13 dc)
- Row 2–10: Ch 3 (counts as first dc), dc in each dc across. Turn.
- Row 11: Ch 1, sc in each dc across. Fasten off.
How to Join Your Pieces
- With the right sides facing inward, fold the body of the sleeve in half, aligning the edges.
- Join with slip stitch or single crochet along the sides (approximately 20 cm / 8 in up from the bottom), leaving the top open.
- Attach the button flap to the top of the sleeve by sewing it to the back panel using the tapestry needle.
- Sew the button approximately 2.5 cm (1 in) down from the top of the front panel.
- Weave in all ends and block the sleeve to your desired dimensions.
Beginner Tips for a Neat Laptop Sleeve
- Use stitch markers to mark the beginning of your rows to keep track.
- Count your stitches regularly to avoid unexpected size issues.
- Manage your tension for even stitches, adjusting as needed during your work.
Common Mistakes (and How to Fix Them)
- “My piece is too small.” – This could be due to tight tension; try loosening your grip on the yarn.
- “The stitches are uneven.” – Check your hook size and tension; using a larger hook may help.
- “The button flap doesn’t line up.” – Make sure to measure and sew it on carefully; consider marking the placement before sewing.
How to Care for Your Laptop Sleeve
To maintain the quality, hand wash with mild detergent and lay flat to dry. This should keep your sleeve looking fresh and new!
FAQ
How do I resize the pattern?
To resize, adjust the foundation chain and make sure to maintain the same gauge. For larger laptops, you may need to add additional stitches.
Can I use a different kind of yarn?
Yes, you can substitute yarn and adjust accordingly, but make sure to match the weight to maintain the intended size and structure.
How long will this project take?
The estimated time for this project is around 5–6 hours, depending on your crochet speed and experience.
Looking for more? Check out our complete collection of free crochet patterns.
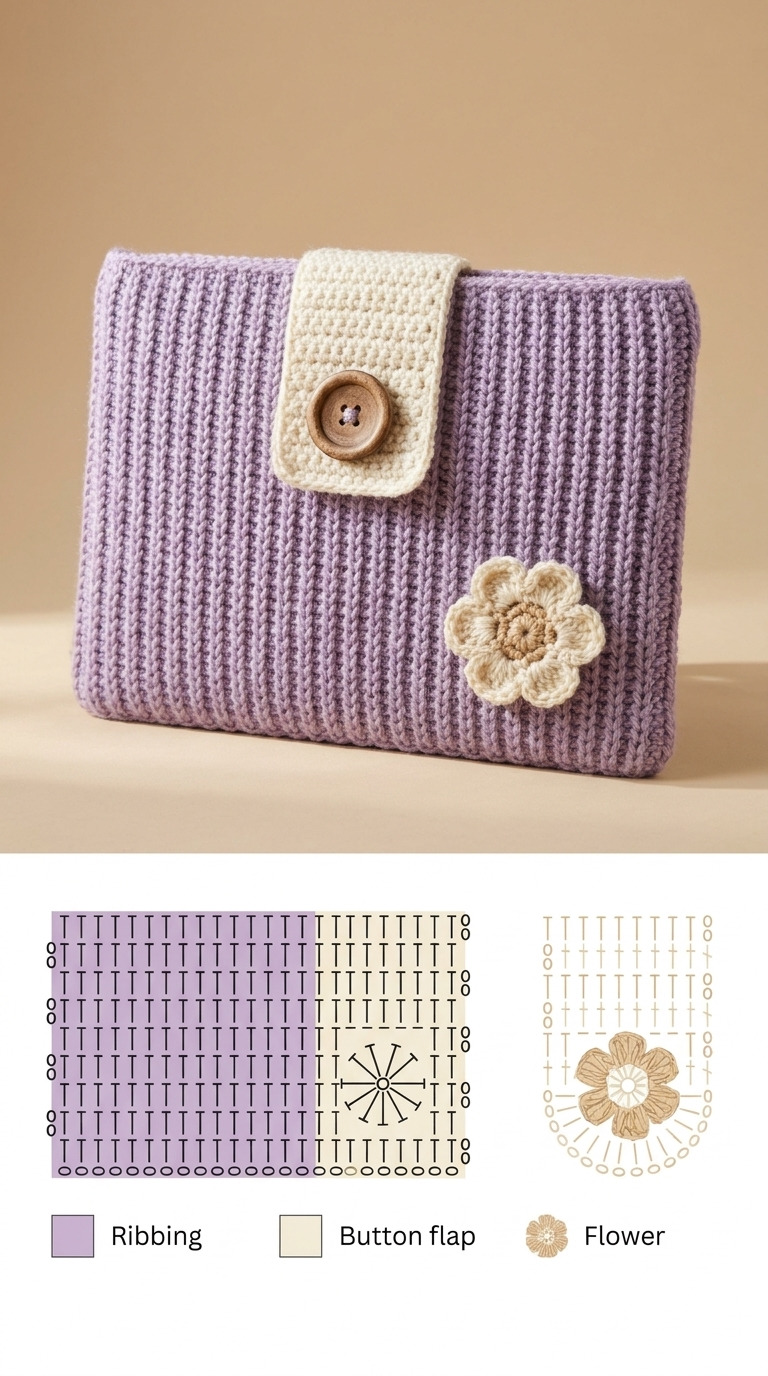
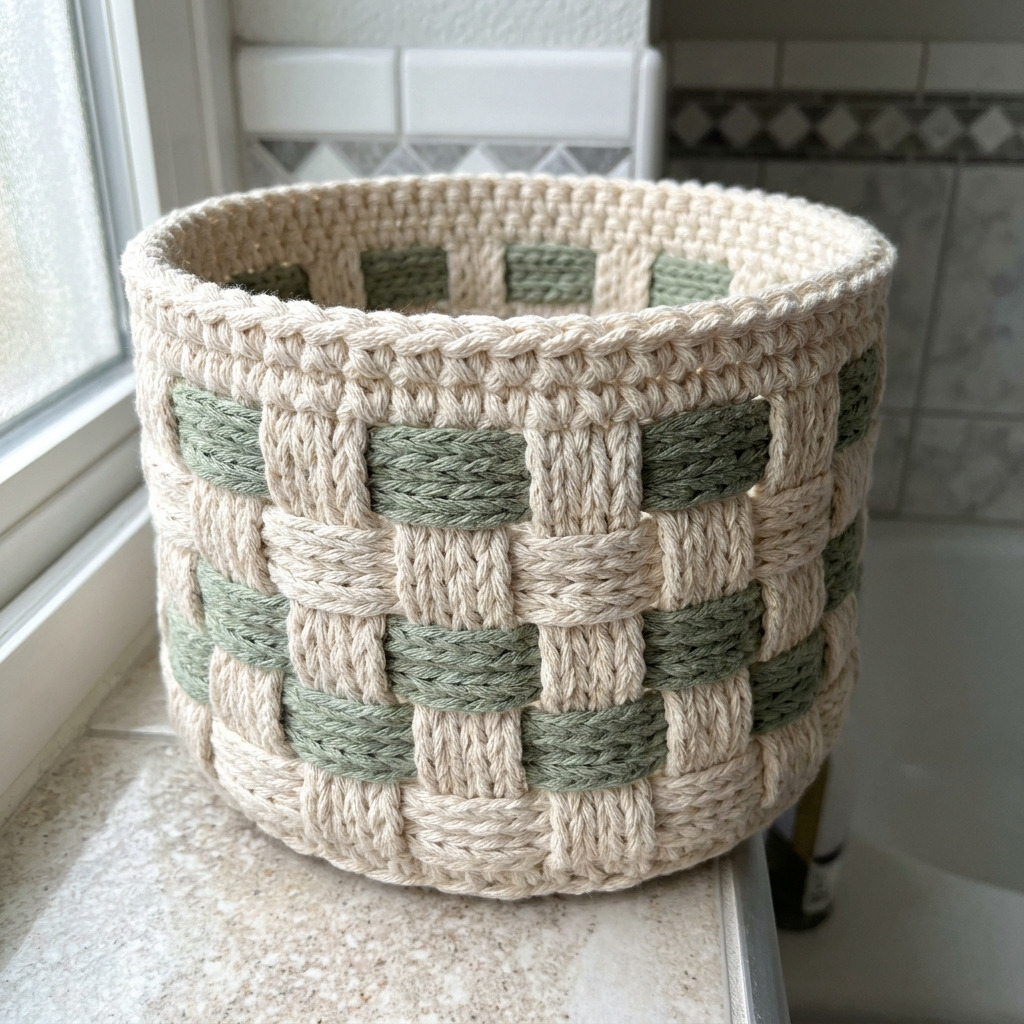
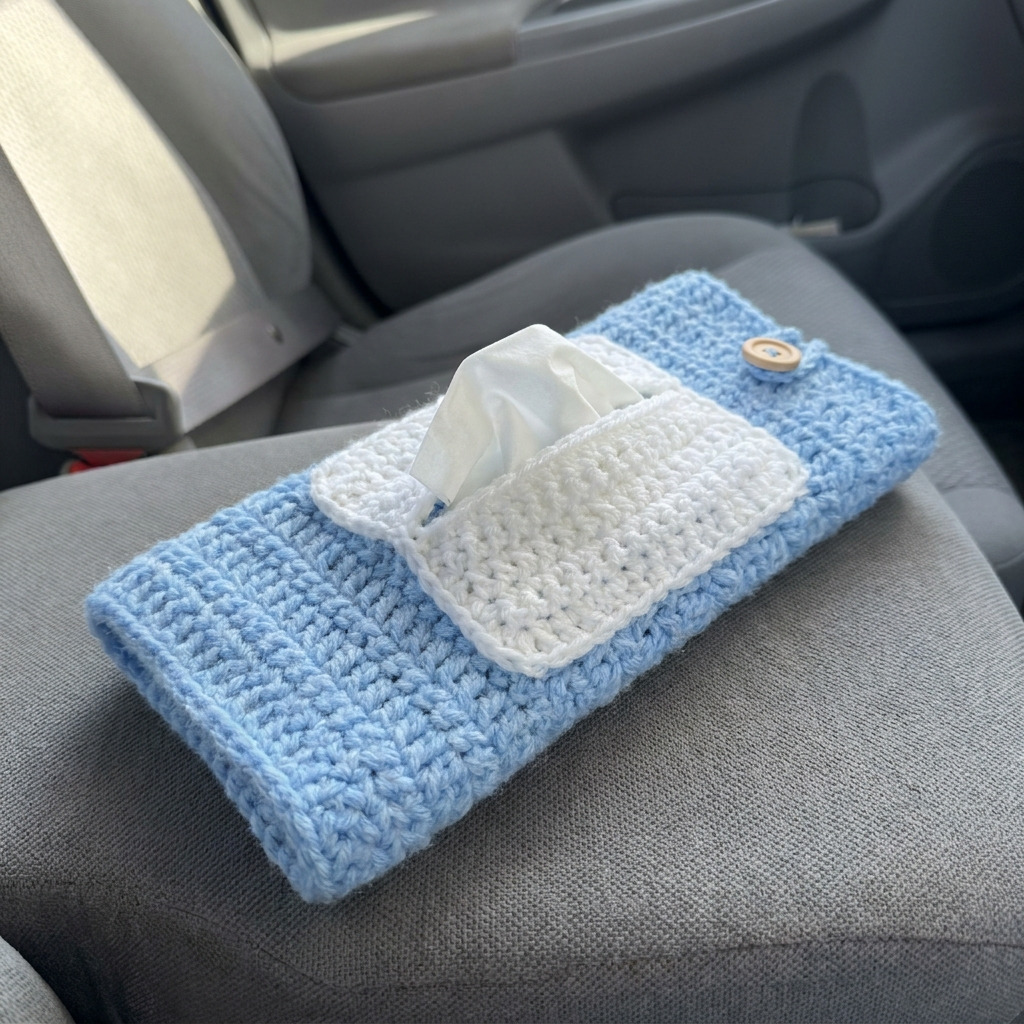
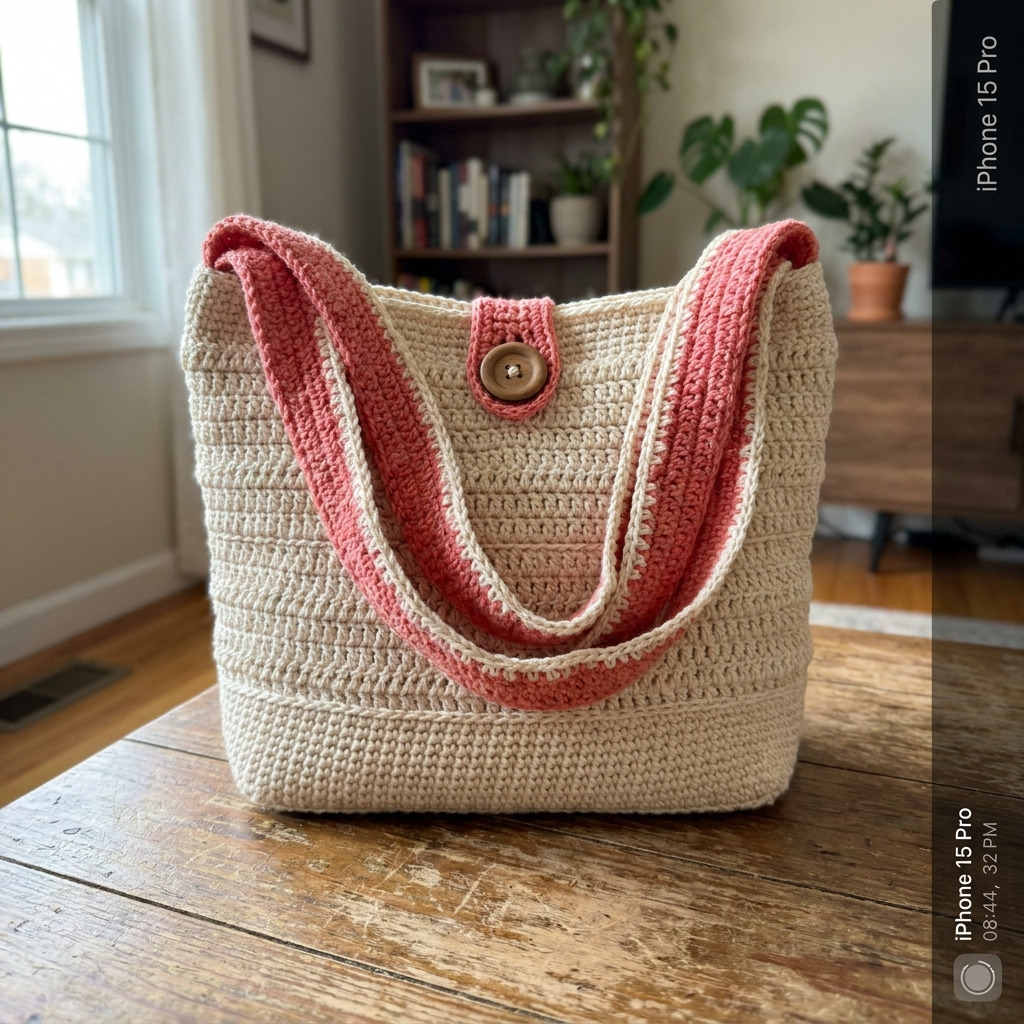
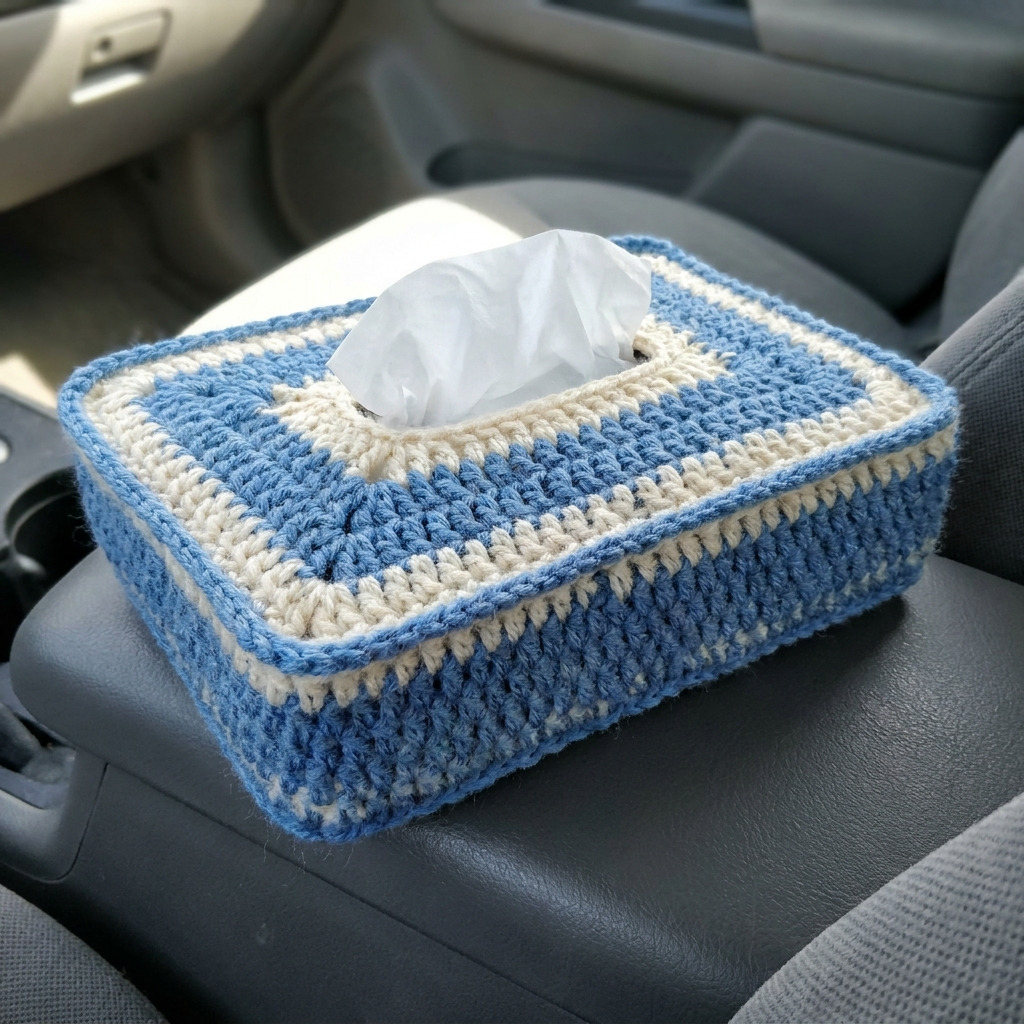
Image shown for inspiration — your finished result may vary slightly.