
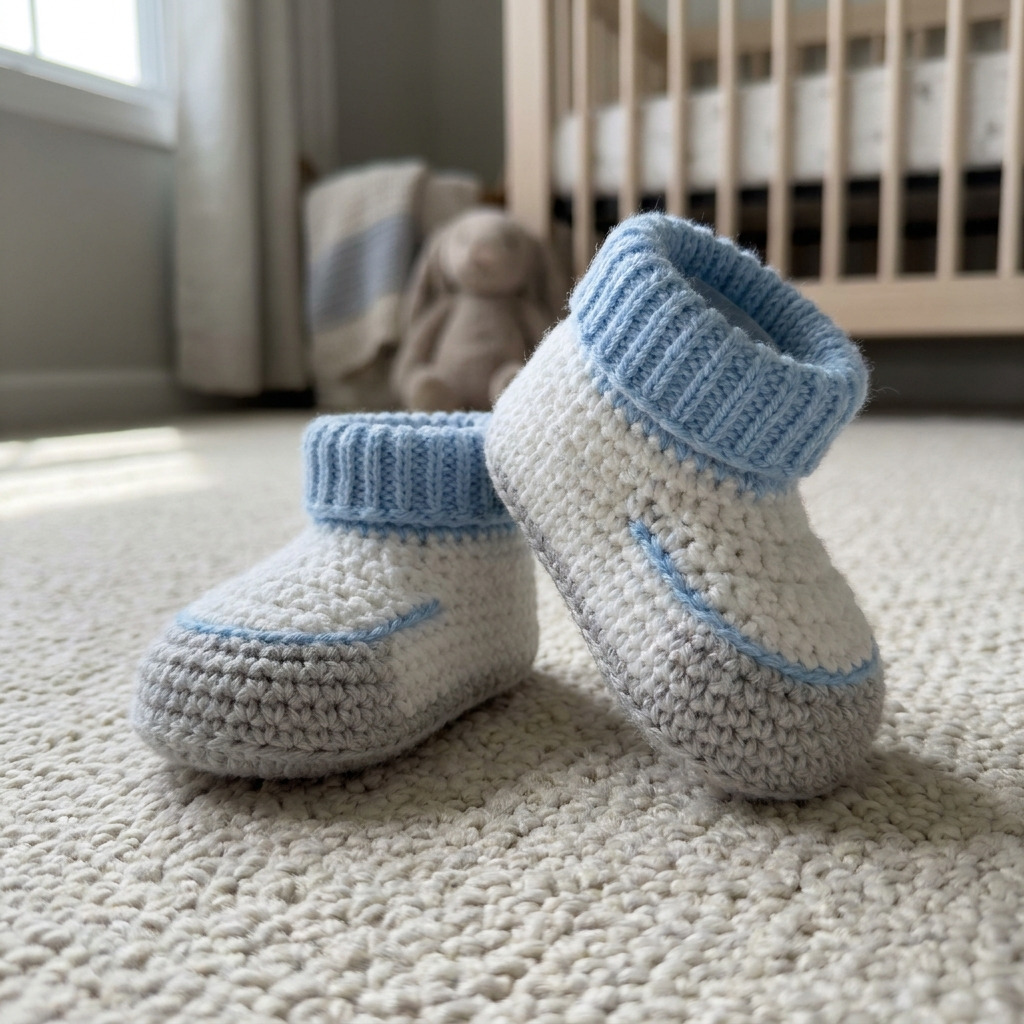
This free crochet baby booties pattern is perfect for creating adorable footwear that stays on tiny feet. The design includes a snug fit achieved through a combination of basic crochet stitches, making these booties both stylish and practical. You’ll enjoy making these booties as they’re quick and easy to work up, and you can personalize them in lots of fun colors.
These booties are great for babies aged 0–12 months. As you work on this project, you’ll improve your skills in shaping and finishing techniques while creating something delightful for a little one.
Why You’ll Love This Baby Booties Pattern
- Fun to customize – pick your favorite colors to match any outfit.
- Quick to crochet – you can make a pair in just about 1.5 hours.
- Practical fit – they hug the foot well, ensuring they stay on during playtime.
- Great gift idea – perfect for baby showers or first birthdays.
Skill Level: Easy
You should be familiar with basic stitches like chain, single crochet, and double crochet. This pattern will introduce slight variations, such as increasing stitches and working with elastic.
Crochet Abbreviations (US Terms)
- ch – chain
- sc – single crochet
- dc – double crochet
- hdc – half double crochet
- sl st – slip stitch
- inc – increase (2 stitches in the same stitch)
Size and Gauge
- Finished Bootie Sizes:
- 0–3 months: 7.6 × 5.1 cm (3 × 2 in)
- 3–6 months: 8.9 × 5.7 cm (3.5 × 2.25 in)
- 6–12 months: 10.2 × 6.4 cm (4 × 2.5 in)
- Gauge: 12 dc and 8 rows = 10 cm (4 in).
To check gauge, crochet a swatch that is 10 × 10 cm (4 × 4 in). Adjust your hook size if necessary to match this gauge.
Pattern
Part 1: Sole
The sole is worked in rows to create a foundation for the booties.
-
Foundation:
- Ch 12.
-
Row 1:
- Sc in 2nd ch from hook, sc across (11 sc). (11 sts)
-
Row 2:
- Ch 1, turn. Inc in first st, sc in next 9 sts, inc in last st. (13 sts)
-
Row 3:
- Ch 1, turn. Inc in first st, sc in next 11 sts, inc in last st. (15 sts)
-
Row 4-5:
- Repeat Row 3 (20 sts).
-
Row 6:
- Ch 1, turn. Sc in first 7 sts, hdc in next 6 sts, sc in last 7 sts. (20 sts)
-
Row 7:
- Ch 1, turn. Inc in first st, sc in next 7 sts, hdc in next 6 sts, sc in last 6 sts. (22 sts)
-
Row 8:
- Ch 1, turn. Sc in each st across. (22 sts)
-
Fasten off, leave a long tail.
Part 2: Bootie Body
The bootie body is joined to the sole and worked in rounds for a secure fit.
-
Row 1:
- Join Color 1 to the first stitch of the sole. Ch 1, sc in each st around. (22 sts)
-
Row 2:
- Ch 1, turn. Sc in each st around. (22 sts)
-
Row 3:
- Ch 1, turn. Inc in first st, sc in next 20 sts, inc in last st. (24 sts)
-
Row 4-5:
- Ch 1, turn. Sc in each st around. (24 sts)
-
Row 6 (Cuff):
- Ch 1, turn. Sc in first 6 sts, hdc in next 12 sts, sc in last 6 sts. (24 sts)
Part 3: Toe
The toe completes the bootie to provide a finished look.
-
Row 1 (Change to Color 2):
- Ch 1, turn. Inc in first st, sc in next 10 sts, inc in last st. (12 sts)
-
Row 2:
- Ch 1, turn. Sc in each st around. (12 sts)
-
Fasten off, leave a long tail. Use this to sew the toe portion into place.
Part 4: Closing the Bootie
-
Using the long tails at the end of the body, sew the top piece down to secure. Gather to fit snugly, ensuring the bootie shape forms properly.
-
Insert elastic inside the cuff edge before final sewing for extra grip, or sew or glue a small piece of stiff felt on the bottom for added durability (optional).
Final Touches
Carefully sew or slip stitch the sides to close them fully. You can also use a round of sc around the cuff in Color 1 to finish the look if desired. Weave in any ends securely.
Beginner Tips for Neat Booties
- Use stitch markers to keep track of your rounds and rows.
- Keep a count of your stitches; it can help prevent any mistakes.
- Maintain even tension to ensure consistent sizing as you crochet.
Common Mistakes (and How to Fix Them)
- “My piece is too small.” – Check your gauge; you may need to change your hook size.
- “The stitches are uneven.” – This can happen if you’re crocheting too tightly or loosely; practice maintaining consistent tension.
- “The booties don’t seem to fit right.” – Ensure you’re following the stitch counts closely and adjusting during assembly if necessary.
How to Care for Your Booties
Hand wash in cold water and lay flat to dry to maintain the shape and color of your booties.
FAQ
How do I resize the pattern?
To resize, adjust the initial chain length and the overall stitch count by following the same increase pattern.
Can I use different yarn?
Yes, you can substitute yarn, but make sure to check the gauge to ensure a proper fit.
How long does it take to make these booties?
You can expect to spend about 1.5 hours for a pair, depending on your crocheting speed.
Looking for more? Check out our complete collection of free crochet patterns.
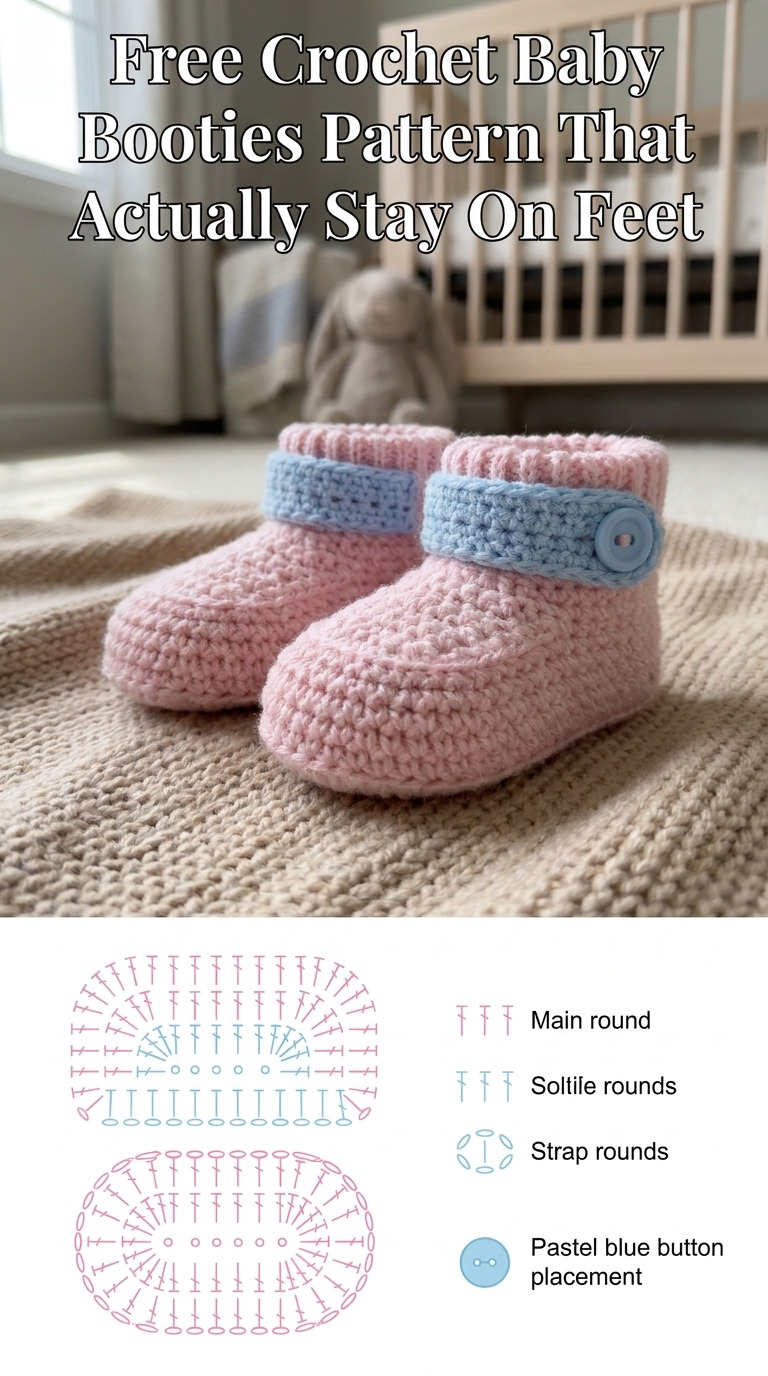
Image shown for inspiration — your finished result may vary slightly.