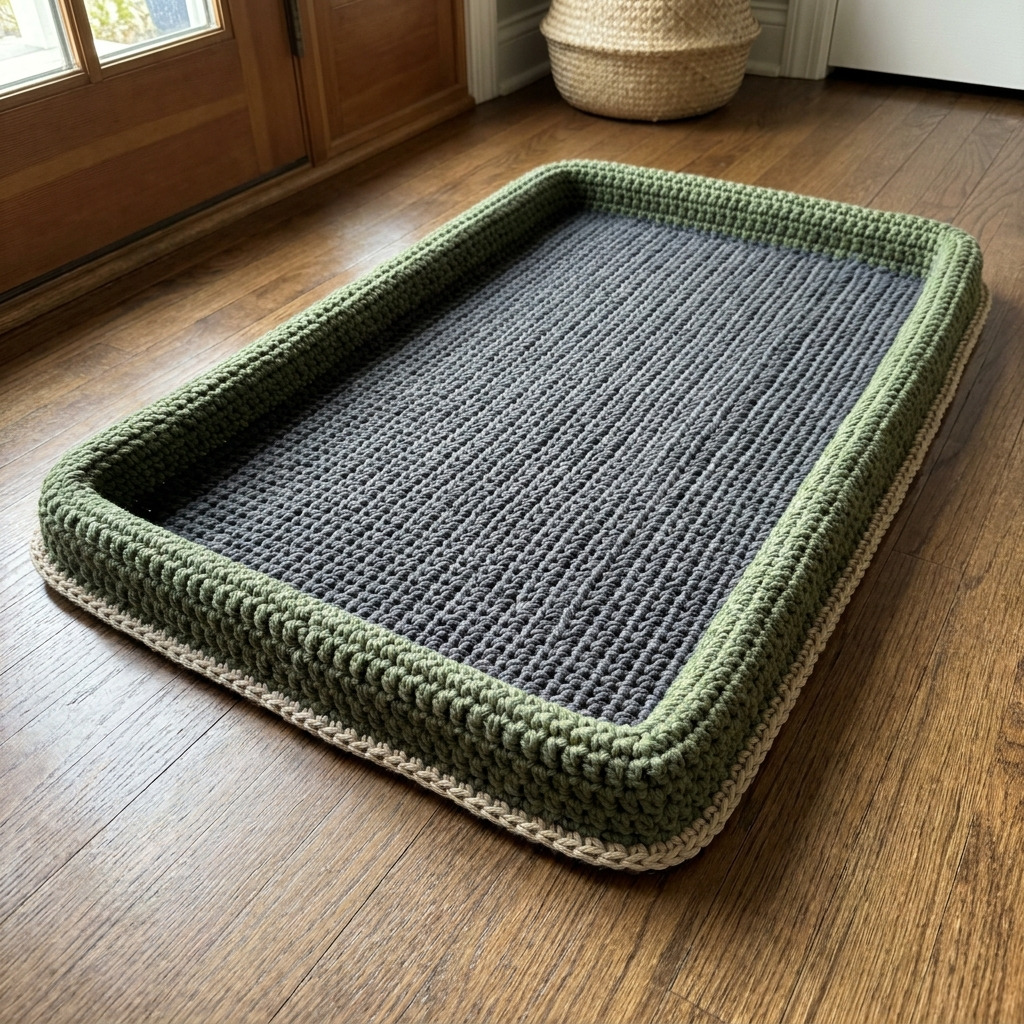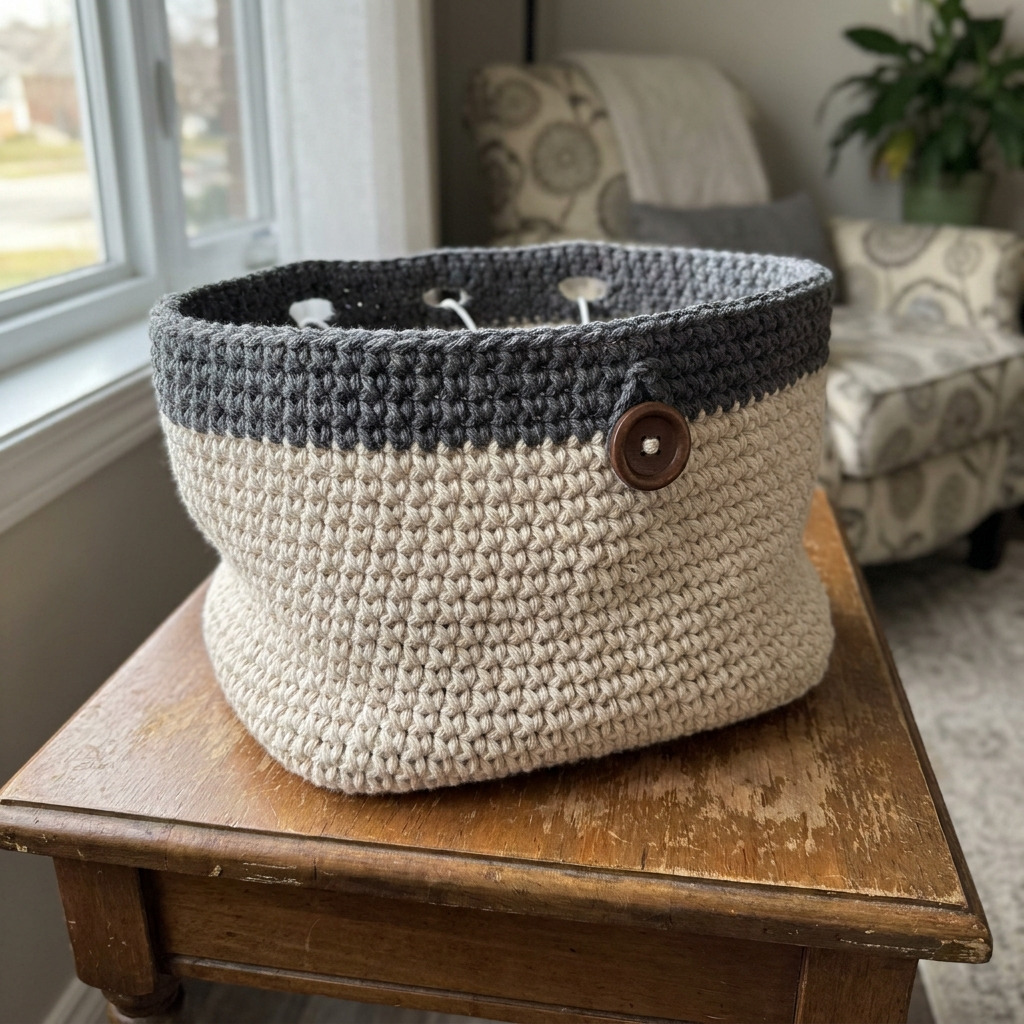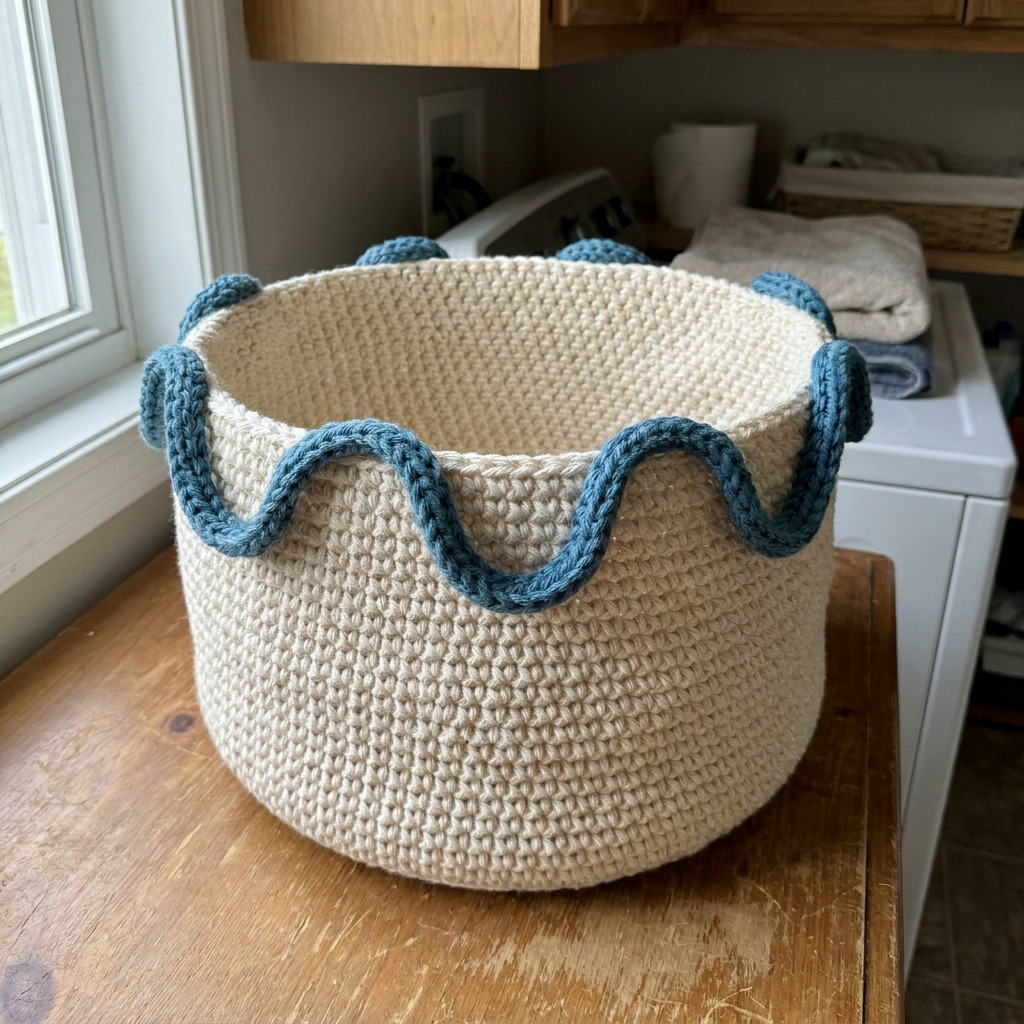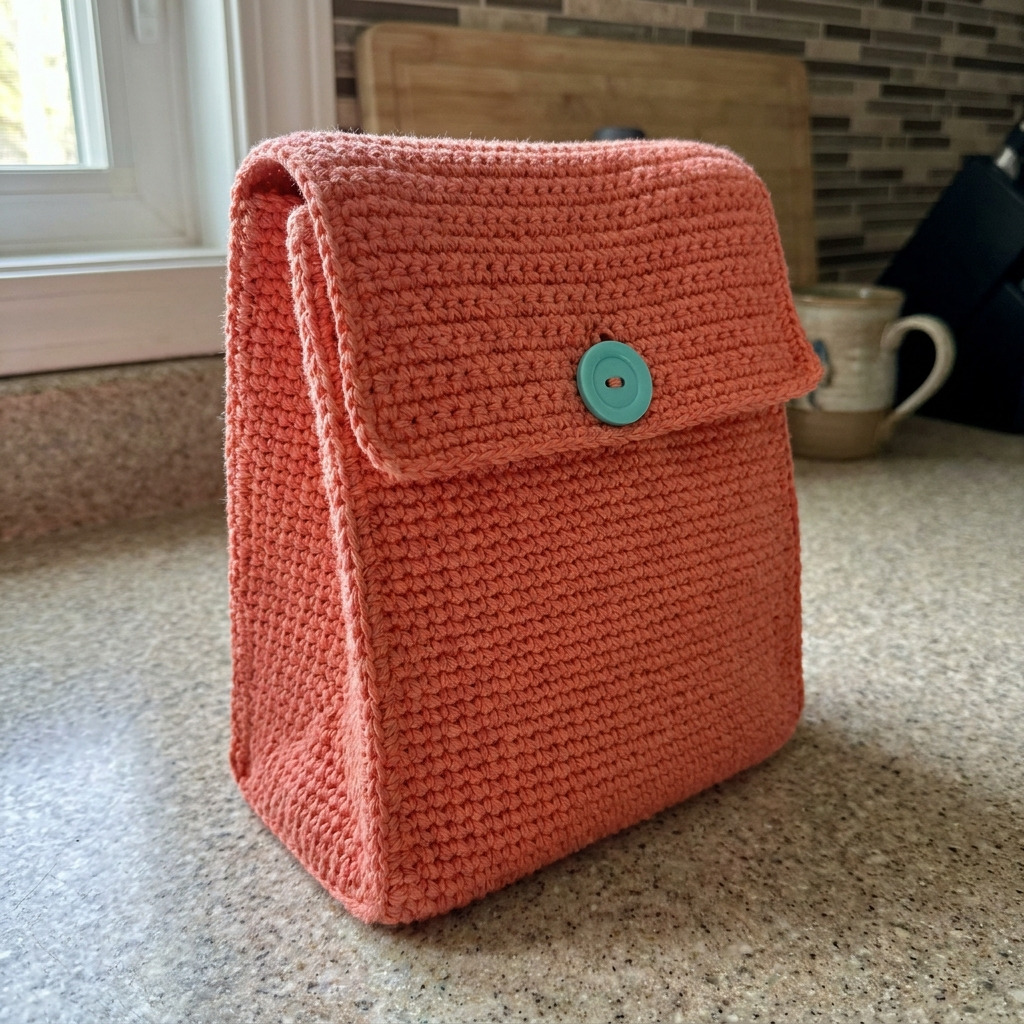
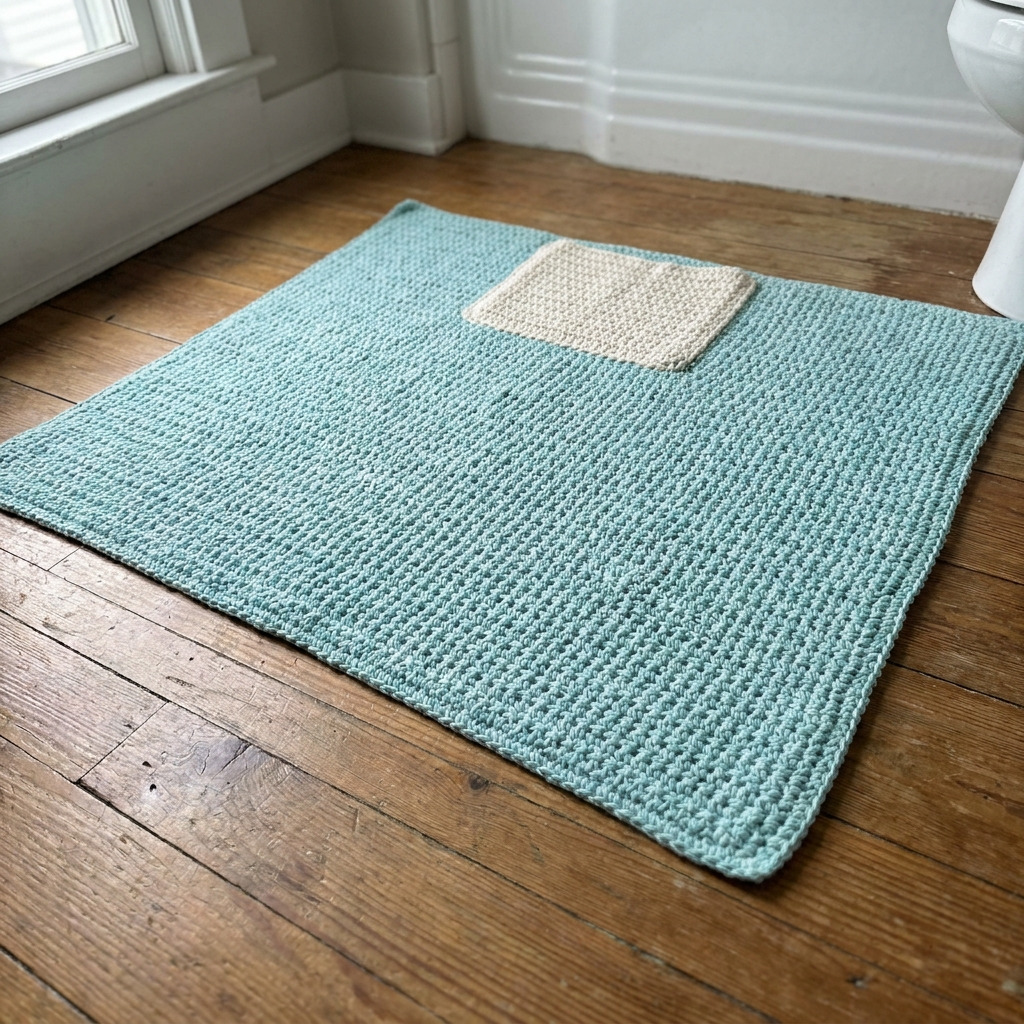
This crochet bath mat with a slipper pocket, called The Slipper Dock, is a practical and stylish addition to your bathroom. It features a unique built-in pocket to keep your slippers cozy and accessible. The mat is enjoyable to make, combining simple stitches and thoughtful design to enhance your bathroom aesthetic.
You’ll build your crochet skills as you create this mat. It’s a fantastic project for those who are ready to take on an intermediate challenge and want to incorporate functional design into their work.
Why You’ll Love This Bath Mat
- Functional design – the built-in slipper pocket keeps your slippers handy.
- Stylish appeal – brightens up your bathroom with a lovely color combination.
- Intermediate challenge – enhances your skills with new techniques.
- Customizable – mix and match colors to suit your style.
Skill Level: Intermediate
To tackle this project, you should know how to make chains, double crochets, and single crochets. You will also learn to increase stitches and attach parts together, which will boost your confidence in crochet.
Crochet Abbreviations (US Terms)
- ch – chain
- dc – double crochet
- sl st – slip stitch
- sc – single crochet
- sk – skip
- sp – space
- Inc – increase (2 stitches into the same stitch)
Size and Gauge
- Finished Size: 76 × 61 cm (30 × 24 in) for the bath mat; 25 × 20 cm (10 × 8 in) for the slipper pocket.
- Gauge: 12 dc and 7 rows = 10 cm (4 in)
To check your gauge, make a swatch of 20 dc x 14 rows. If it’s not measuring 10 cm (4 in), adjust your hook size accordingly.
Step 1: Crochet the Bath Mat Base
The bath mat base is made in rows.
- Foundation Chain: Ch 80.
- Row 1: Starting from the second ch from hook, dc in each ch across. (79 dc)
- Row 2: Ch 3 (this counts as your first dc), turn, dc in each st across. (79 dc)
- Row 3–28: Repeat Row 2 for a total of 28 rows.
Step 2: Create the Slipper Pocket
The slipper pocket is assembled separately and then attached to the mat.
- Begin Slipper Pocket: With Color B, ch 40.
- Row 1: Starting from the second ch from hook, sc in each ch across. (39 sc)
- Row 2: Ch 1, turn, sc in each sc across. (39 sc)
- Row 3–18: Repeat Row 2 for a total of 18 rows.
- Row 19: Ch 1, turn, sc in next 19 sc, inc in next sc repeat once. (41 sc)
- Row 20–21: Repeat Row 2 for a total of 2 rows.
- Row 22: Ch 1, turn, sc in next 20 sc, inc in next sc repeat once. (43 sc)
- Row 23–24: Repeat Row 2 for a total of 2 rows.
- Leave the pocket open: Do not fasten off; proceed to join to the mat.
Step 3: Attach the Pocket to Bath Mat
- Aligning: Position the slipper pocket at the center of the bath mat.
- Join: Sl st through the back of the pocket and into the mat stitches across the bottom of the pocket to attach.
- Finish Off: Fasten off and weave in any loose ends.
Step 4: Add Edging
- Edging Around Bath Mat: Attach Color A at any corner, ch 1, sc evenly around the mat (approximately 2 sc in each corner).
- Slip stitch to the first sc to close the round.
- Final Round: Ch 1, sc in each sc around, join with sl st to the first sc. Fasten off and weave in ends.
Final Touches
- Weave in all ends using a yarn needle.
- If needed, block the mat to ensure it lays flat.
- For extra grip, consider attaching non-slip backing to the underside of the mat.
Beginner Tips for a Neat Bath Mat
- Use stitch markers to track row changes, especially for the pocket.
- Keep count of your stitches to avoid any gaps or uneven sections.
- Adjust your tension throughout to ensure consistent stitch sizes.
Common Mistakes (and How to Fix Them)
- “My piece is too small.” – Ensure your gauge is accurate; check your hook size.
- “The stitches are uneven.” – Maintain consistent tension; practice makes perfect.
- “There’s a hole in my pocket.” – Check your rows for accuracy; every increase must be intentional.
FAQ
How do I resize the pattern?
To resize, adjust the foundation chain and add or remove rows while maintaining your gauge.
Can I use a different yarn?
Yes! Just ensure that your new yarn has a similar weight to maintain the overall size and structure.
How do I clean my bath mat?
Hand wash in cold water and lay flat to dry. Avoid bleach to keep the colors vibrant.
Looking for more? Check out our complete collection of free crochet patterns.
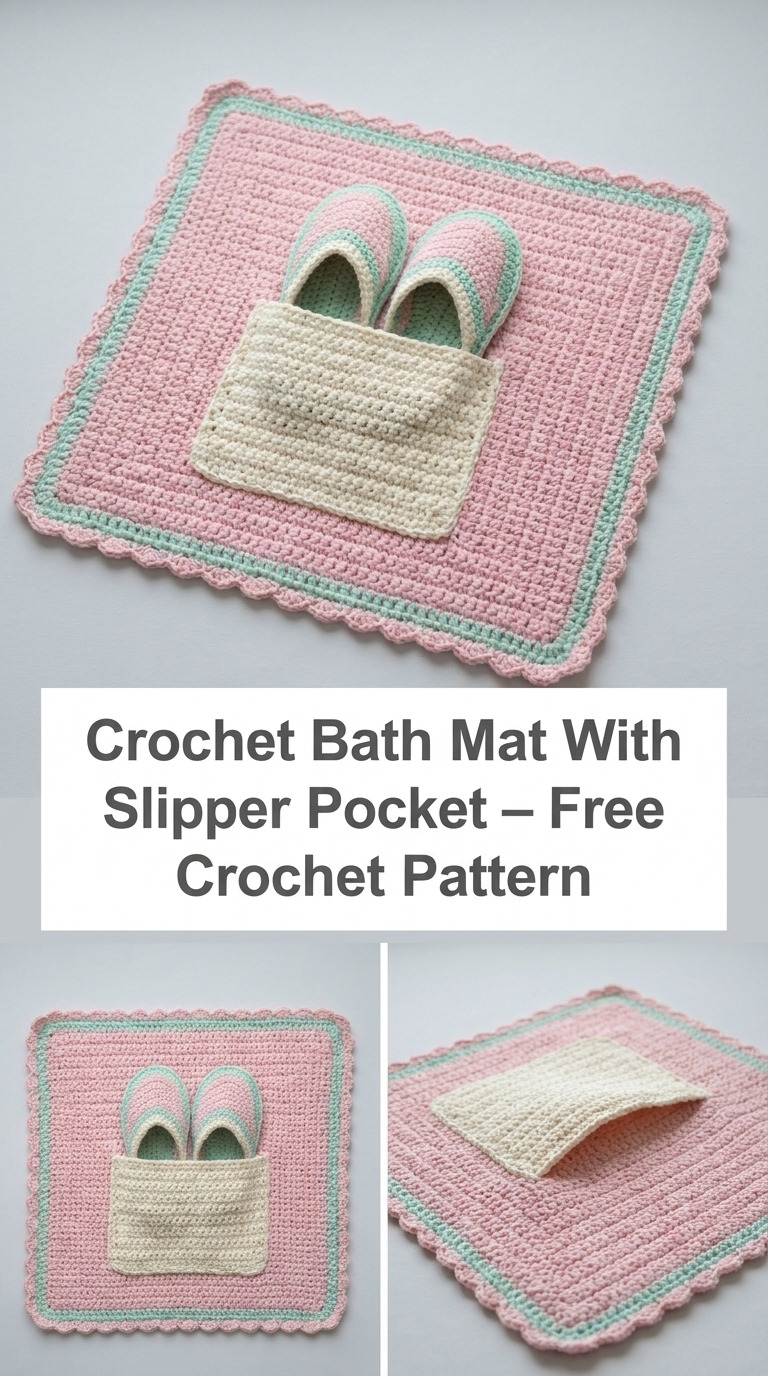
Image shown for inspiration — your finished result may vary slightly.